Glossary
Phoenix II —FAQ (IOS)

BOOKMARK
FAQ (IOS) by light_rock_zz
Version: 5.3 | Updated: 07/29/2025
FAQ of the Month Winner: January 2020 | Highest Rated Guide
Glossary
| MUST READ!!! A list of all terms used in this guide. | |||||||
|---|---|---|---|---|---|---|---|
| General | Ships | Badges | Invaders | Turrets | Auras | Zens | Miscellaneous |
Most of the terms used in this guide are also official terms used within the game itself. There are few defined just in this guide (although also frequently used in Phoenix 2 communities).
Know the terms in red as they will be used throughout the guide.
For other terms, these are good-to-know as they will be frequently used in Phoenix 2 communities. Abbreviations are used in Phoenix 2 communities all the time for quick communication. However, abbreviations are rarely used in this guide.
General
Particles
Energy. What you get for destroying Invaders.
- Comes in blue, green and gold colors.
- Blue ones are the lightest as they get pulled in by your ship the fastest, but give you the least energy to recharge your Aura.
- Green ones are heavier and pulled in by your ship a little slower, but give more energy than blue ones.
- Gold particles are the heaviest and take much more time to be absorbed by your ship, but give the most energy.
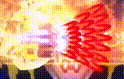
Graze
Occurs when your core is dangerously close to a bullet or laser, rewarding Aura energy.
- You can see a small red slash moving from 9 o'clock to 3 o'clock near your core for every bullet you graze.
- The distance of the red slash away from your core is the maximum distance away from a bullet you can be to successfully perform a graze.
- Grazing off a laser happens when the white burst of energy runs through the white line (which happens milliseconds before the white line turns red and becomes dangerous) zooms past near enough to your ship's core.
- Grazing rewards you a bit of energy to recharge your Aura.
- You may only graze the same bullet once.
- You may graze the same laser more than once.
- You can also graze the white burst of energy that runs through the white laser lines just before they fire.
- Here's how the red slash looks like JUST after grazing the bullet (shuriken) above the core:
- Here's how grazing a laser works. Grazing a laser will also have the red slash (Not easily visible below).

Fade Out
- Some of these abilities continue to last for a short/very short time even after their strength is depleted or the Zen is cancelled after it is activated.
- This is different from Chrono Field's Phase Out.
Ships
Ship
What you control during gameplay.
Core
The blinking blue dot on your ship and the only part of your ship that matters.
- If a bullet or laser (when active, which means red/purplish in color) touches it, you die and need to restart a mission.
Beam
Refers to lines that a ship can emit to inflict damage to Invaders.
- Each of these that hit an Invader produces an impact sound.
- Has infinite travel speed, meaning they hit an Invader instantaneously after emitted if they are in the way of the beam.
- Most beam weapons have infinite length, with the exception of very few.
- All beam weapons have a width. A larger width makes it easier to hit Invaders due to better horizontal reach.
Projectiles
Refer to each and every distinct shape or short line/curve a ship can emit to inflict damage to Invaders.
- Each of these that hit an Invader produces an impact sound.
- Has a certain travel speed that varies by ship.
SB
Shield Breaker
- Ships that have SB main weapons are tagged with the following icon:

- SB main weapons deal bonus damage to Invader shields, destroying them much faster than other weapon damage types.
- Once the Invader shield is down, SB main weapons deal normal damage.
AP
Armor Piercing
- Ships that have AP main weapons are tagged with the following icon:

- AP main weapons deal full damage on Armored Invaders, unlike SB or HI weapons.
- They also deal normal damage on all other Invader affinities.
HI
High Impact
- Ships that have HI main weapons are tagged with the following icon:

- HI main weapons have a chance to deal critical hits on Unprotected Invaders, Invaders that have their blue shield downed, or if you hit the cockpit of Armored Invaders.
x-y-z (where x,y,z are integers)
Refers to a ship's stats
- x is the Level of its Main Weapon
- y is the Level of its Aura.
- z is the Level of its Zen.
- For example, 1-2-0 means the ship has a Level 1 Main Weapon, a Level 2 Aura, and a Zen which is not unlocked (thus Level 0).
Max

Ult
- Upgrade one of the ship's stats, whether it is main weapon, Aura, or Zen to the Ultimate level, also referred to as Level 6.
- Ult-ing a ship means to upgrade it completely, to 6-6-6.
- The upgrade icon (which appears in the Play Tab only) when the ship stat is ready to upgrade to ult level is shown below:

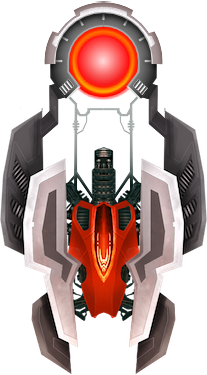
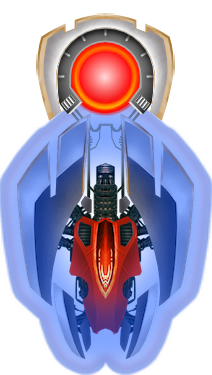
Apex
Apexes change the look of the base ship, and come with either a re-adjustment or an enhancement to the base ship.

Badges
BoB
Best of the Best
- Awarded to the player who was #1 in a daily S4 mission leaderboard of Marshal rank after that daily mission resets.
sBoB
(specialist) Best of the Best
- Awarded to the player who was #1 in a daily specialist mission leaderboard of Marshal rank after that daily specialist mission resets.
vBoB
(VIP) Best of the Best
- Awarded to the player who was #1 in a daily Platinum VIP mission leaderboard after that daily Platinum VIP mission resets.
oBoB
Ogon Is Fine
- Awarded to players who cleared with the ship Ogon (and retained the clear without overriding it with another ship) in a daily S4 mission leaderboard of Marshal rank after that daily mission resets.
AAO
Against All Odds
- Awarded to players who cleared a daily mission of Marshal rank that has a clear rate of <3% (based on leaderboard entries) after that daily mission resets.
Invaders
Invader
Targets to be eliminated
- Use your ships' main weapon, Aura & Zen to take them down.
- You objective is to eliminate them all in a varying number of waves in a mission.
Affinity
The 3 different coatings of Invaders. Namely:
Shielded
Invaders that have a blue outline.
- The icon below represents the presence of Shielded Invaders in a mission:

- Protect Invaders from damage while this blue outline is up.
- After dealing damage to it for some time, the blue outline fades.
Armored
Invaders that have a gold outline.
- The icon below represents the presence of Armored Invaders in a mission:

- These Invaders resist some damage if incoming damage by your ship is not tagged as Armor Piercing.
Unprotected / Hull
Invaders that have a grey outline.
- The icon below represents the presence of Unprotected Invaders in a mission:

- All weapons do normal damage to Unprotected Invaders.
- High Impact weapons can do bonus critical damage to Unprotected Invaders.
- Some players refer to Unprotected Invaders as Hull Invaders instead. The term "Hull" is a legacy term used in the early days.
- This guide does not use the term "Hull". The guide will only use the term "Unprotected".
Elite
Refers to that Invaders have dark grey external plating with a white interior and red center.
- Elite Invaders can only be Unprotected Invaders.
- While this term is used by the devs and well known by Phoenix 2 communities, it is not necessary to know this term.
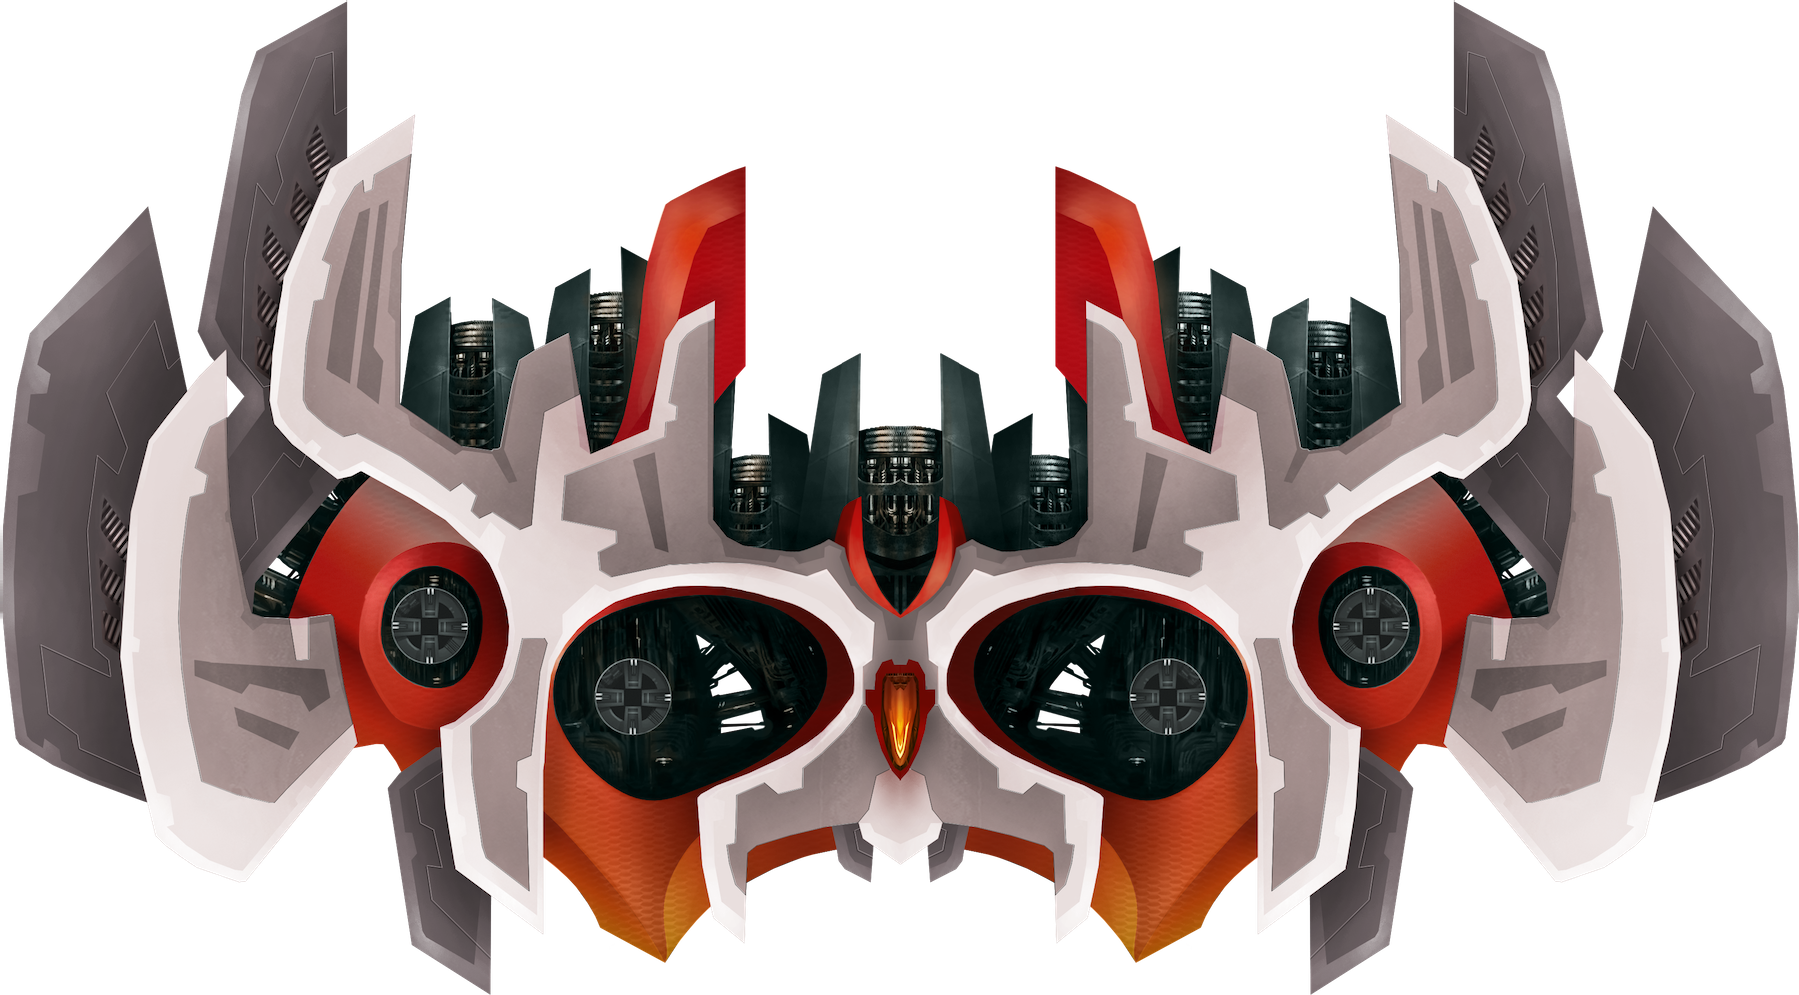
Imperial
Refers to Invaders that have a white-grey body and a red center with golden rims.
- Imperial Invaders can only be Shielded Invaders.
- While this term is used by the devs and well known by Phoenix 2 communities, it is not necessary to know this term.
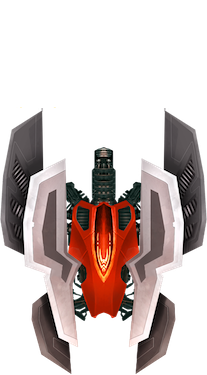
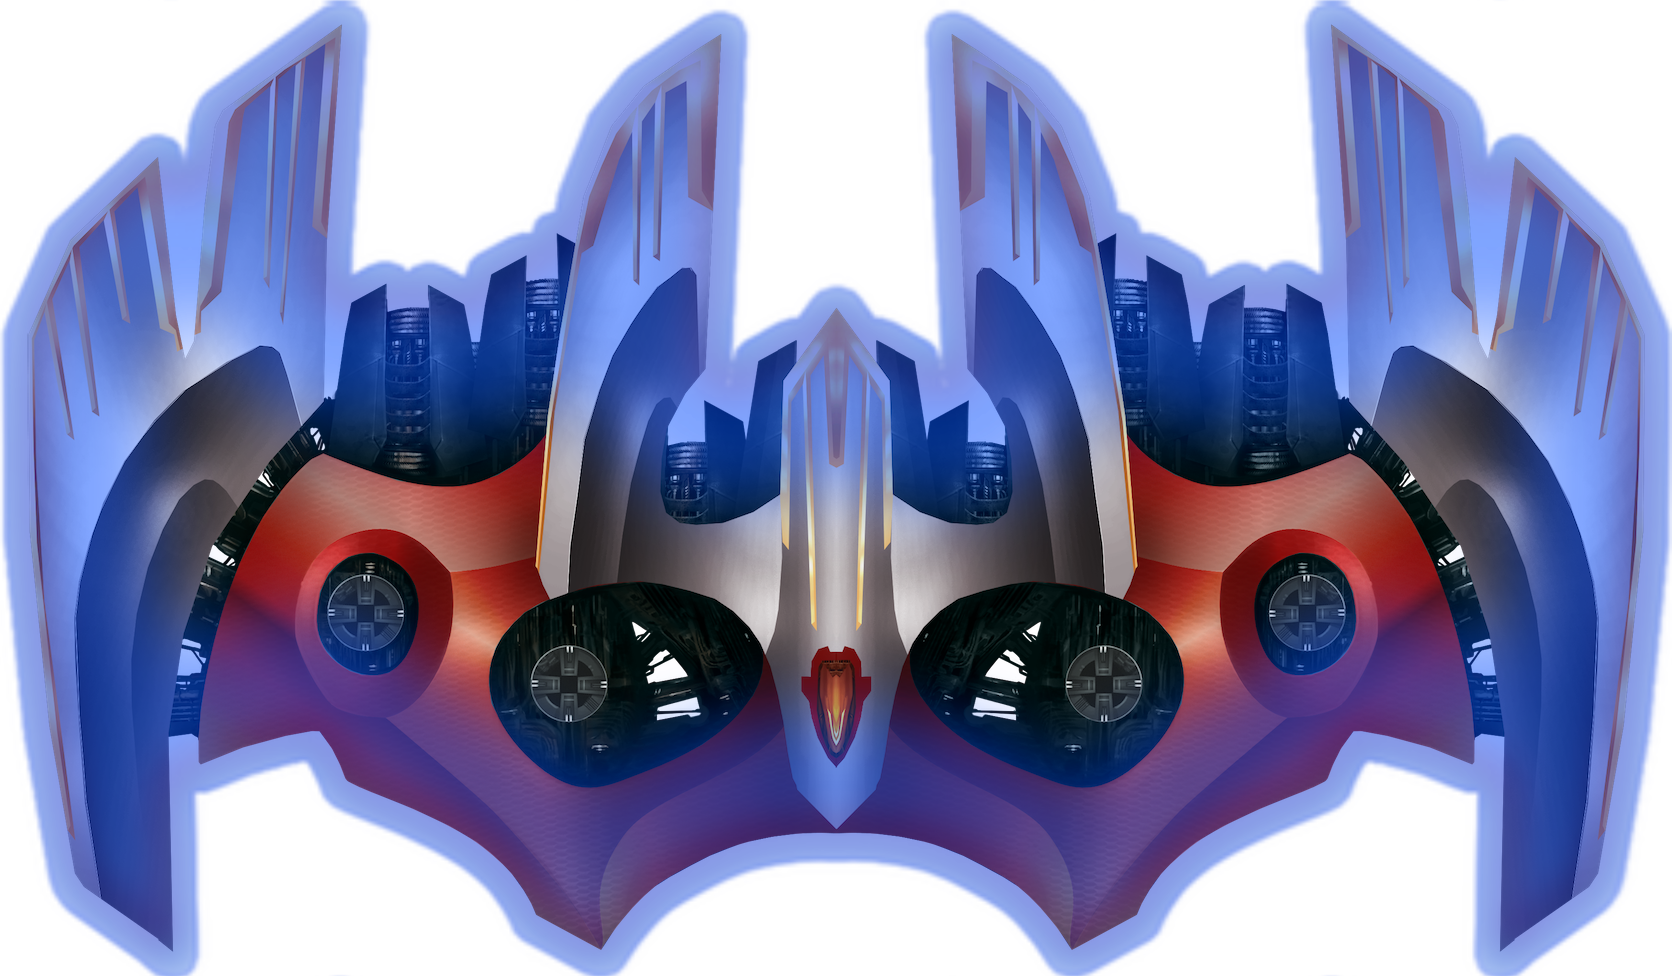
Assault
Refers to Invaders with red interior and dark grey-grey exterior with sharp edges.
- Assault Invaders can only be Armored Invaders.
- While this term is used by the devs and well known by Phoenix 2 communities, it is not necessary to know this term.
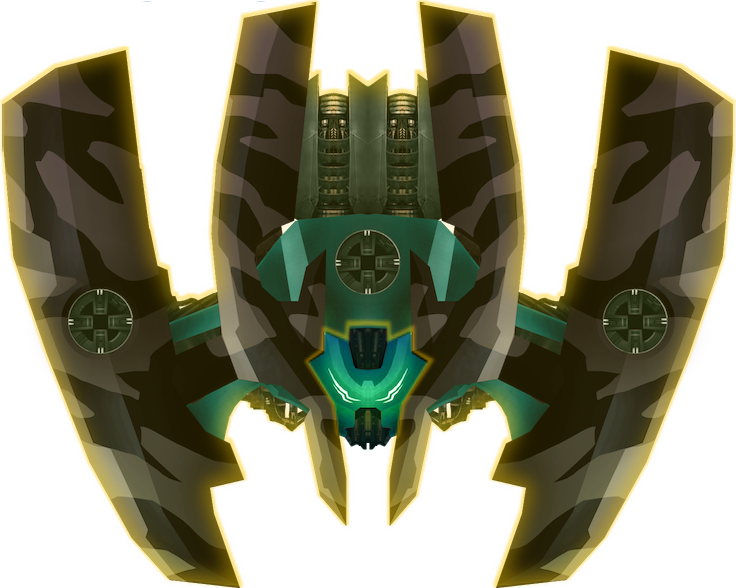
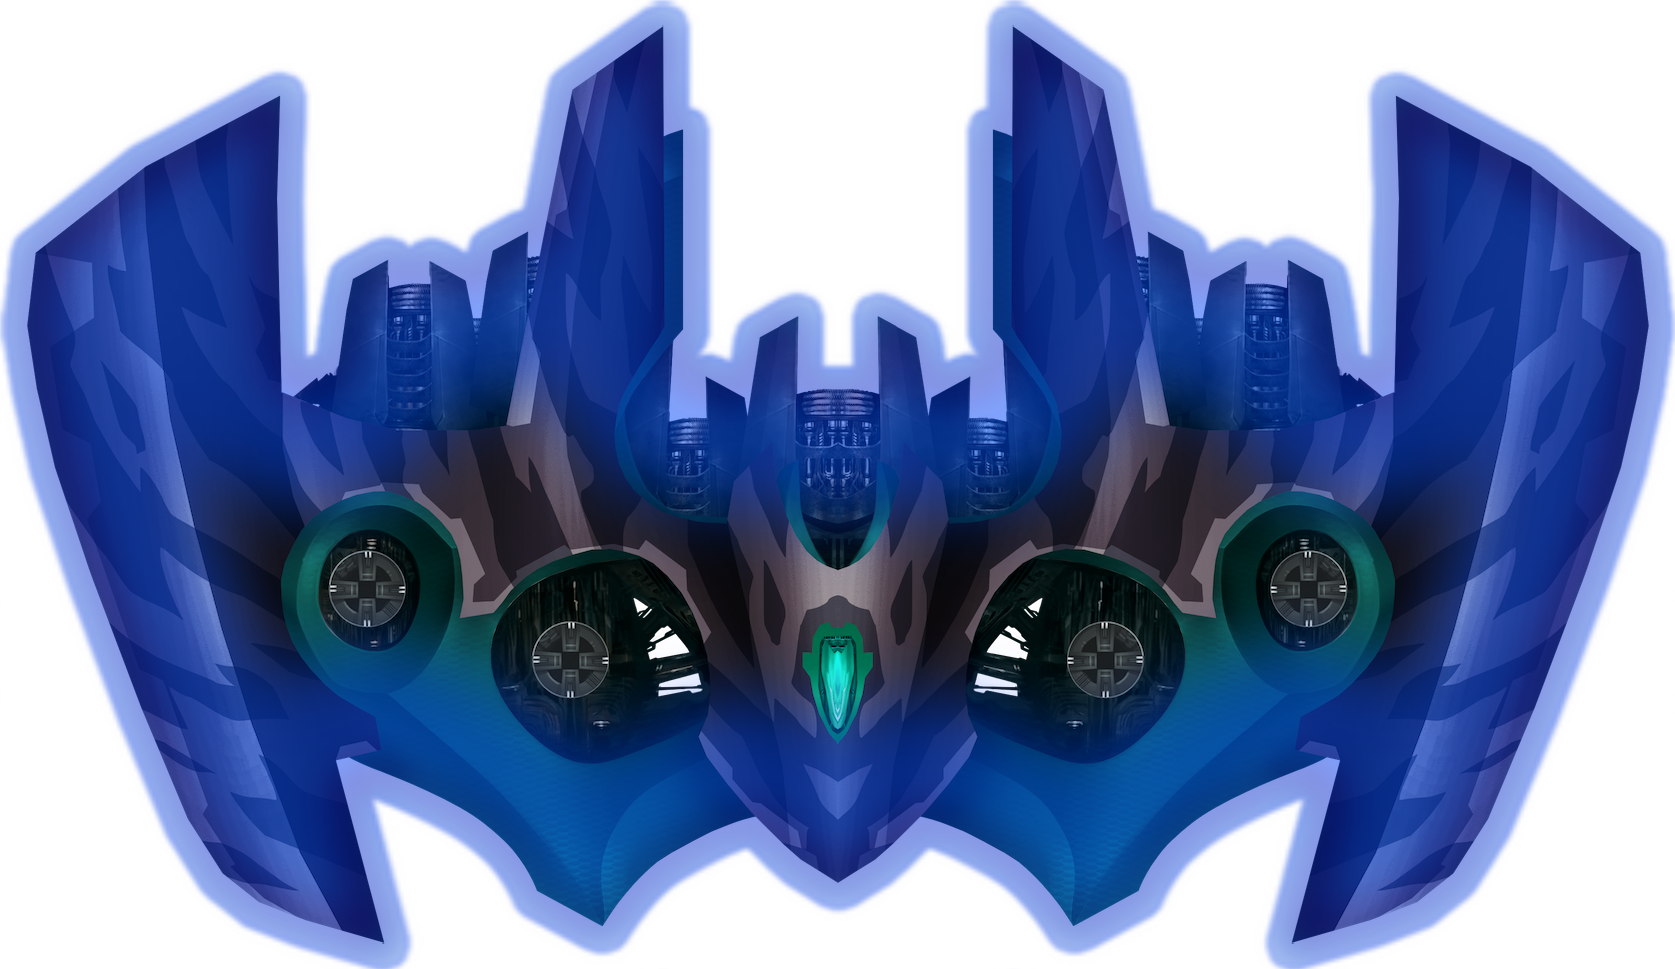
Sinister
Refers to Invaders that with a green center with camouflage patterns / grey spots on the exterior.
- Sinister Invaders are either Shielded or Armored Invaders.
- As Sinister is used by both Shielded or Armored Invaders, this guide uses this term in some places.
Body
Refers to the other parts of an Invader (which are not turrets or their cockpit)
Cockpit
The small region situated at the bottom center of Invaders.
- For Invaders with even number of turrets on them, you can see a shining oval shape at the center,
- For Herons and Eagles, their cockpit exists although it is hardly visible.
- Visually, although Sparrows have a cockpit, functionally, it can be disregarded since it works the same as a Sparrow's body.
Crit
To score a critical hit on an Invader by chance and using a HI weapon, thus dealing bonus / critical damage.
Class
The 7 different Invader-classes. Namely:
- In this guide, the suffix "-class" will be dropped.
Wave
A pre-defined formation of Invaders, that takes a small amount of time to be fully deployed after the previous wave (or the start of a mission).
- A new wave is marked by Invader(s) descending vertically from the top edge of the screen.
- Different Invader-classes take different amount of time to fully arrive.
- An Invader can only be damaged after it has fully arrived on screen.
- An Invader can only start firing its weaponry after it has fully arrived.
- When an Invader has fully arrived, its vertical movement slows drastically (or may even stop) and it may also start moving horizontally slightly.
- Downfield Invaders always arrive fully before more upfield Invaders do so.
- Not all Invaders have to fully arrive on screen for them to start firing their weaponry or your ship to be able to start dealing damage. So long the most downfield Invader has arrived, these 2 events can start occurring.
- Only when all Invaders of a wave are destroyed, the next wave can start to arrive.
- There is a visual wave counter at the top of the screen and a textual wave counter at the top right corner of the screen to help you keep track of the current wave you are in.
- Clear all waves in a mission to complete the mission.
- All waves of a mission are fixed until the mission is reset.
Act
A set of 4 waves grouped together, followed by a long transition into the next set of waves or the completion of a mission.
- The number of the Act you are now in is clearly shown before the first wave of the Act starts to arrive.
- This includes the start of a mission, which commences Act 1.
- There is a visual wave counter at the top of the screen separated by gaps, which defines the Acts of a mission. There is also a textual wave counter at the top right corner of the screen to help you keep track of the current Act you are in.
- The number of Acts vary by mission.
Dense
- In extreme cases, such as higher rank daily missions, you may see Invaders partially overlapping each other.
- Generally speaking, if you see a wave, feel immediately overwhelmed and don't feel like counting the number of Invaders on field, the wave is dense.
- Usually happens when there are many Ravens and/or an overwhelming number of Sparrows on screen.
- By this definition, dense waves provide many particles when completely wiped out.
Heavy
- If you don't see Ravens and Sparrows, and you see 3 or more Invaders that are Herons or larger in a wave, the wave will be referred to as heavy in this guide.
- By this definition, heavy waves provide few particles when completely wiped out.
Sparrows
Sparrow-class Invaders
- Smallest in size
- Has only 1 static turrent
- Rapid random movement
From left to right:

Ravens
Raven-class Invaders
- Small size
- Has 2 turrets
- Fast random movement
From left to right:

Herons
Heron-class Invaders
From left to right:
Eagles
Eagle-class Invaders
- Big size
- Has 3 turrets
- Small random movement
- Take up about half the horizontal screen space
From left to right:
Vultures
Vulture-class Invaders
- Huge size
- Has 4 turrets
- Minimal random movement
- Span across the entire horizontal screen space
From left to right:

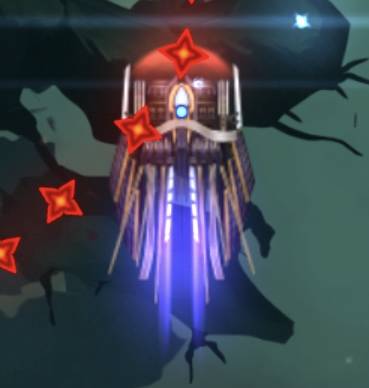
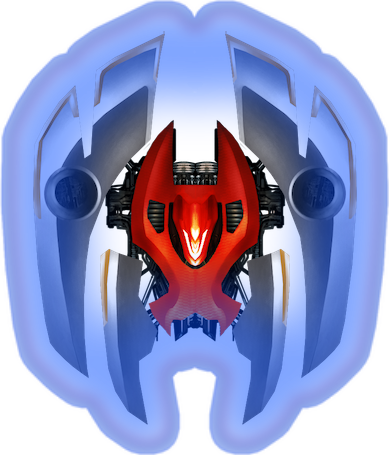
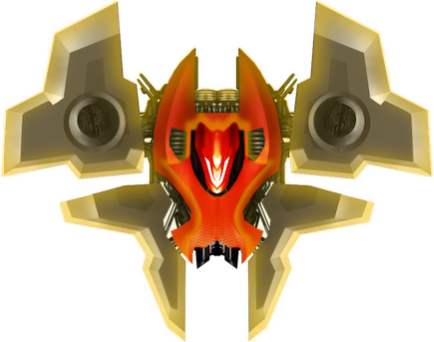
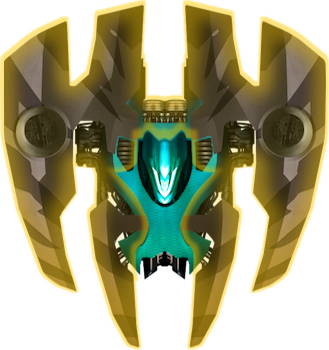
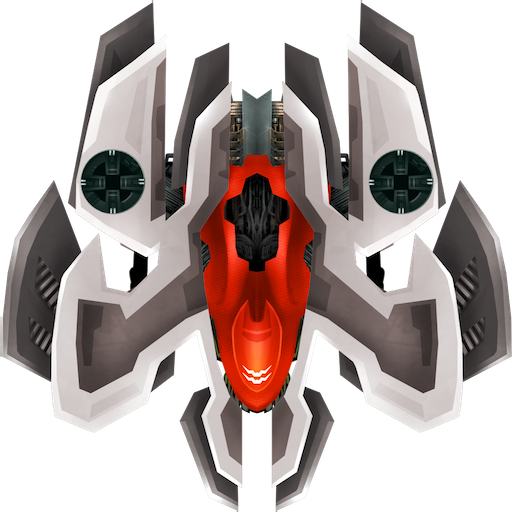
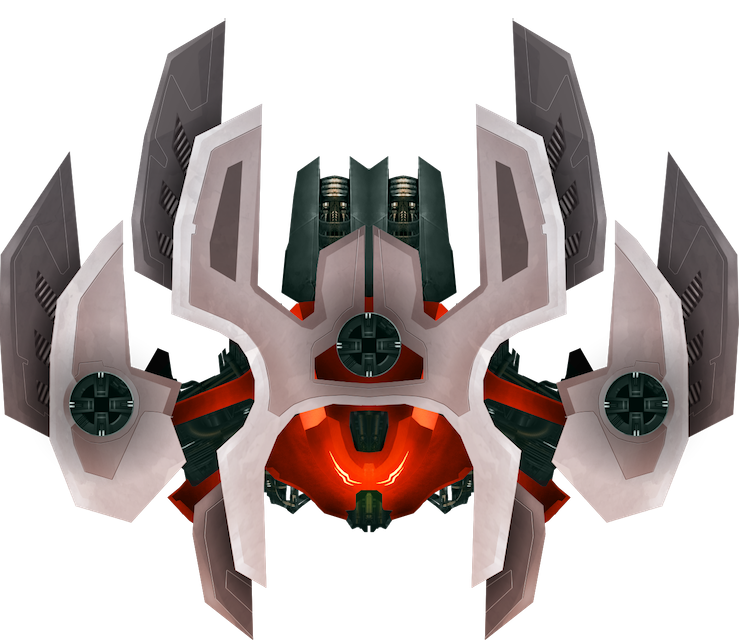
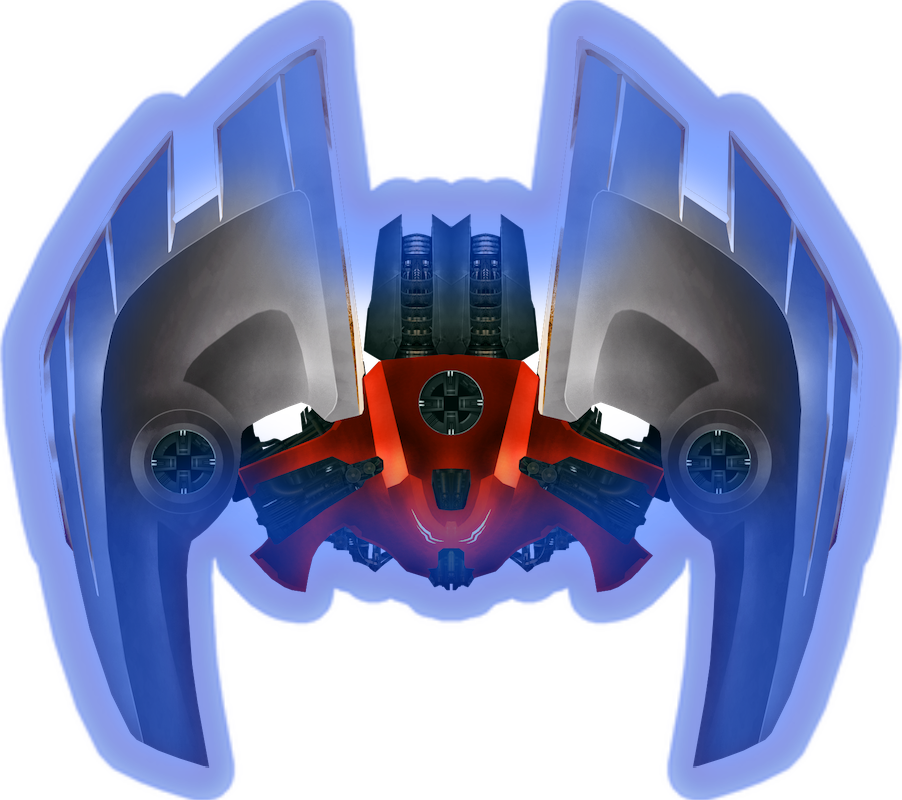
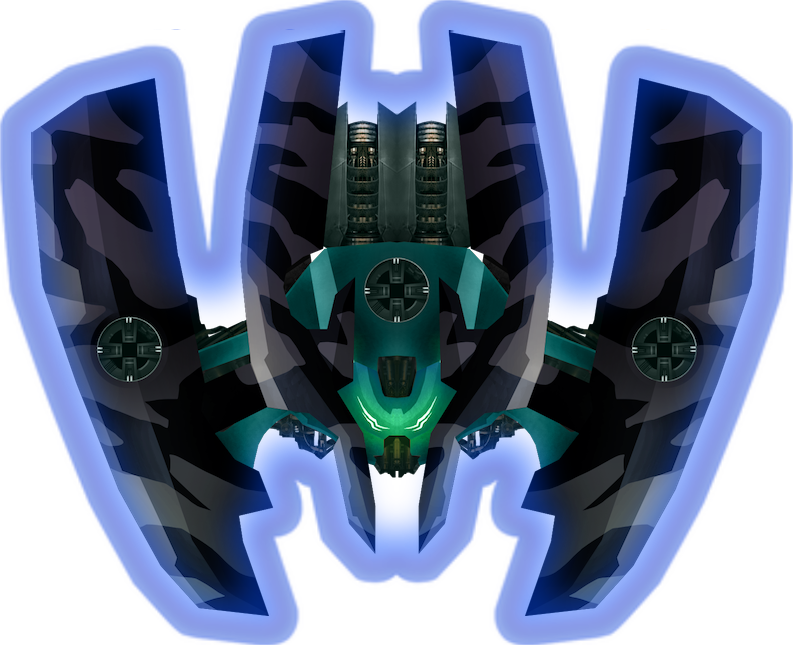
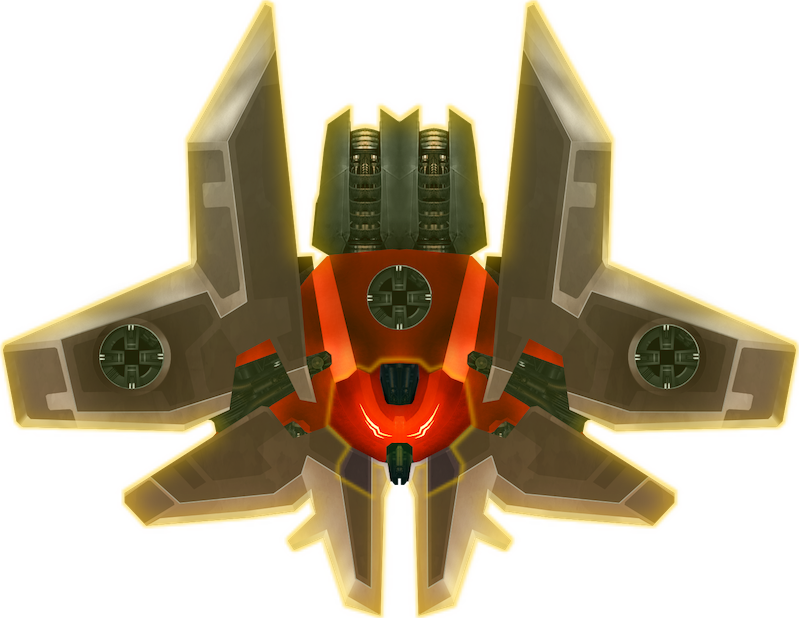
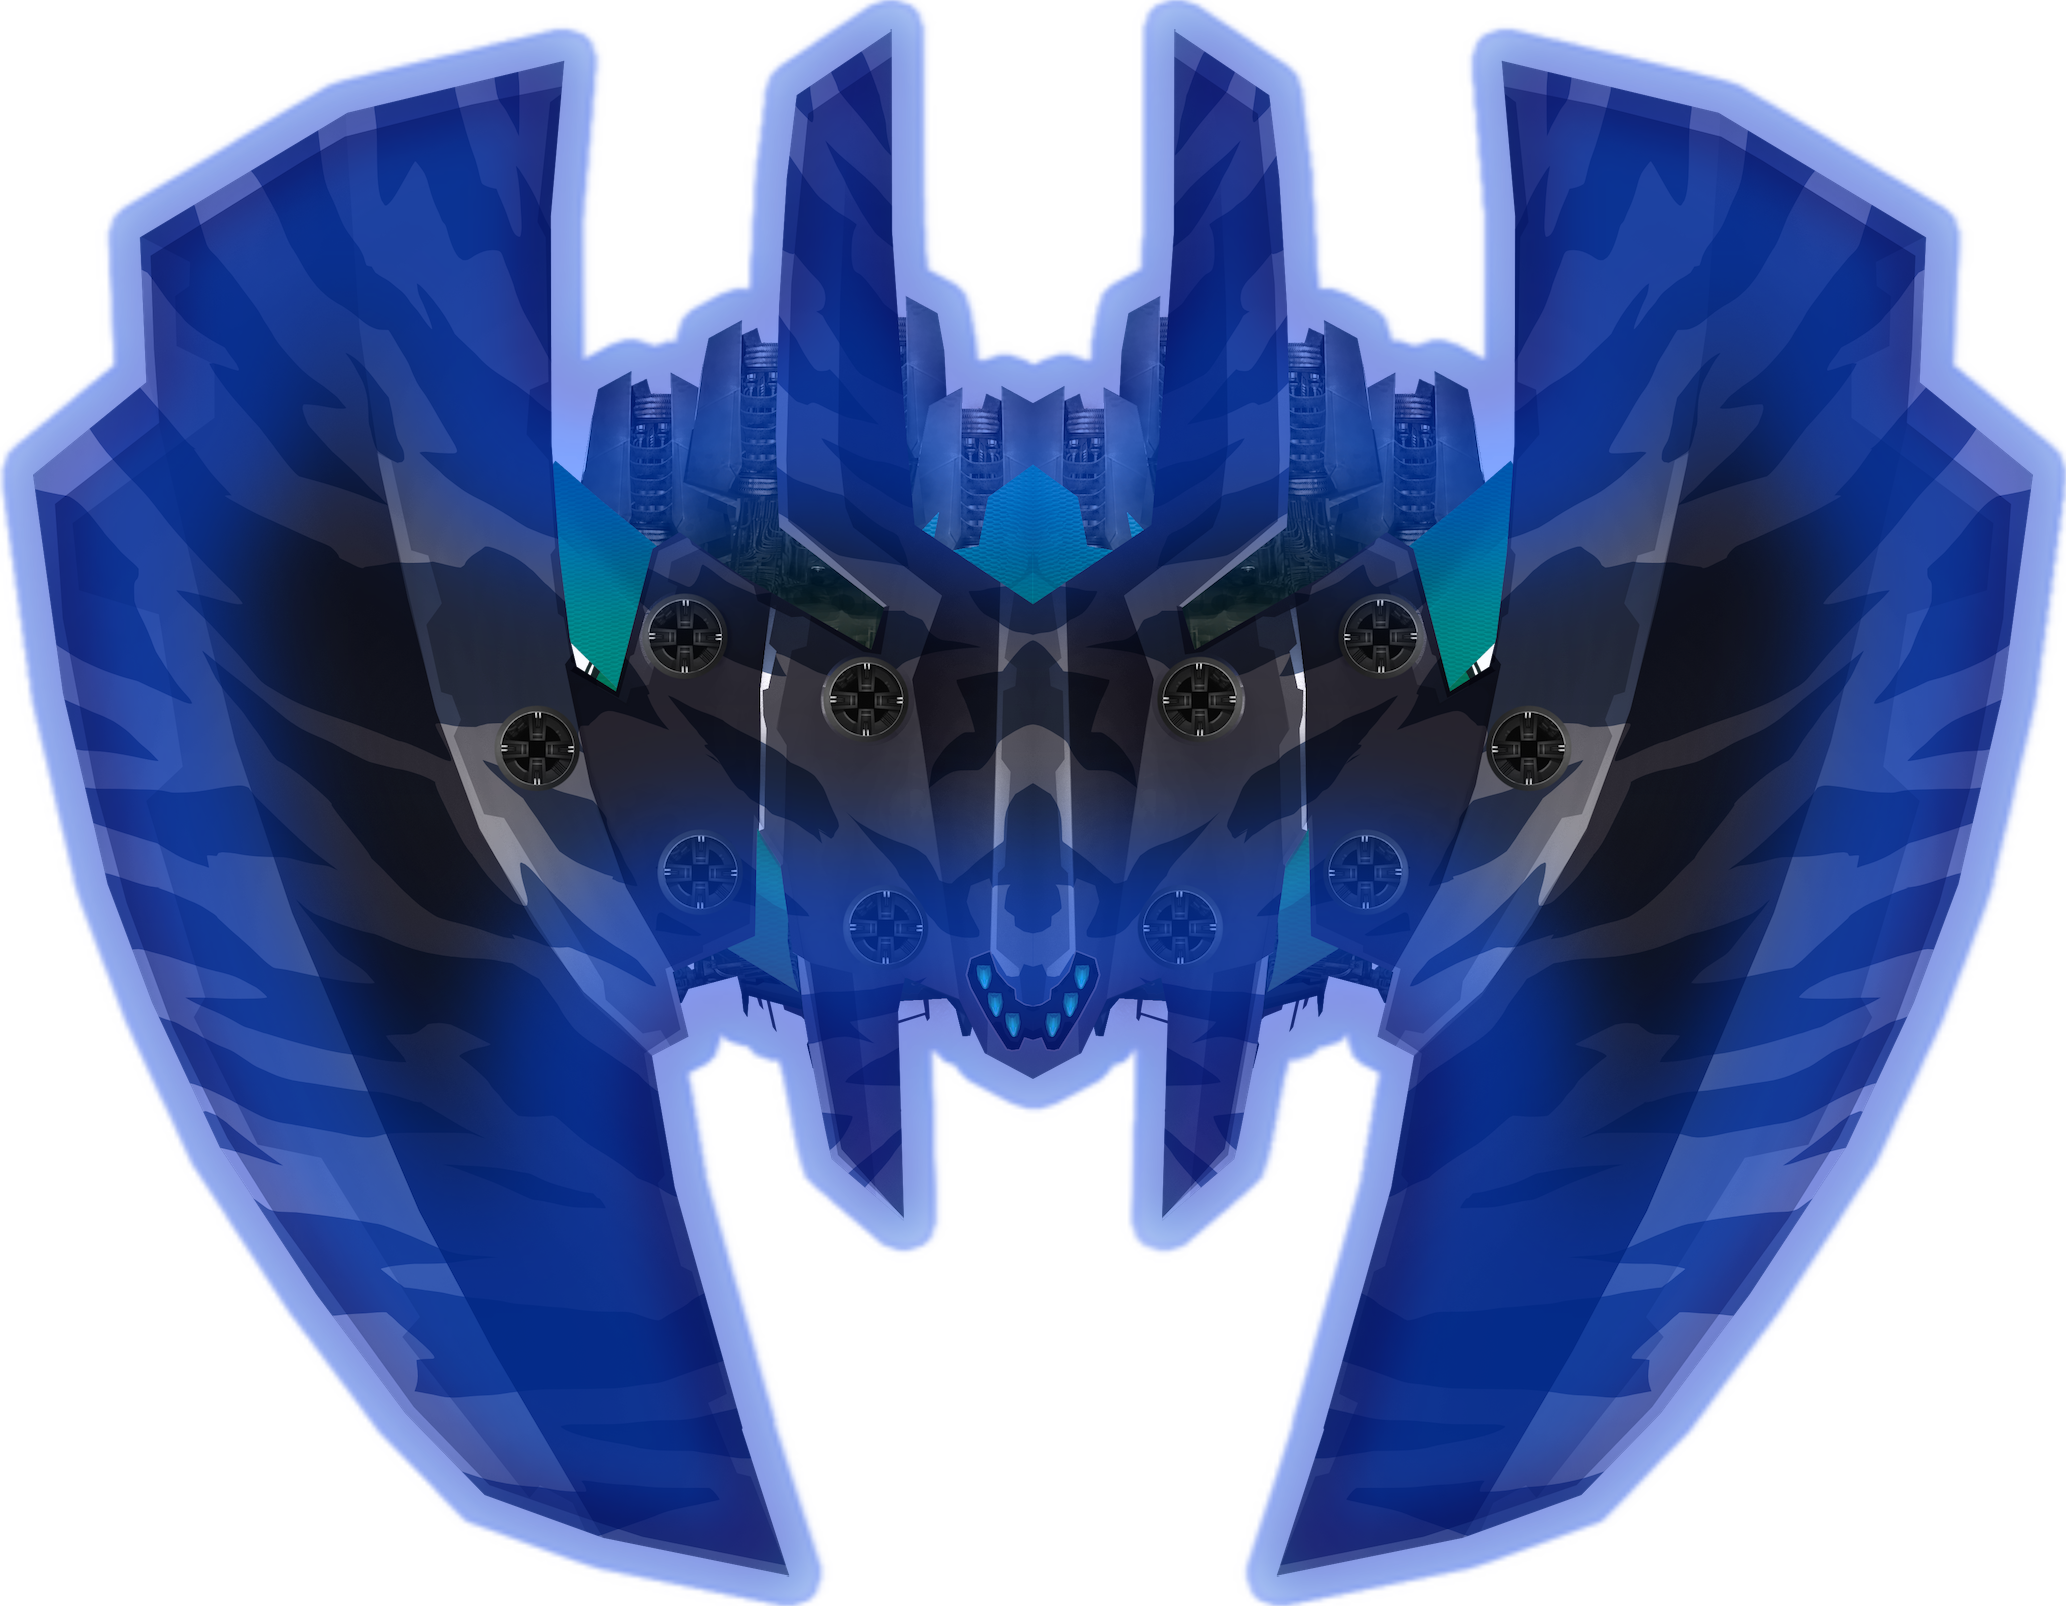
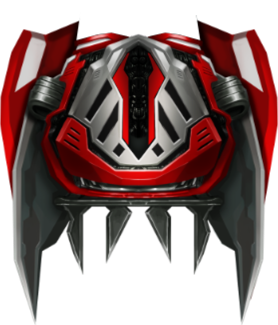
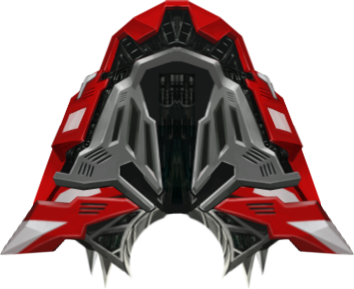
Condors
Condor-class Invaders
- Gigantic size
- Has 6 turrets
- Near zero movement
- Takes up at least half the overall screen space
- The icon below that indicates a Condor's presence in a mission:

In the images below, from left to right, the affinities of the Condors are as follows:
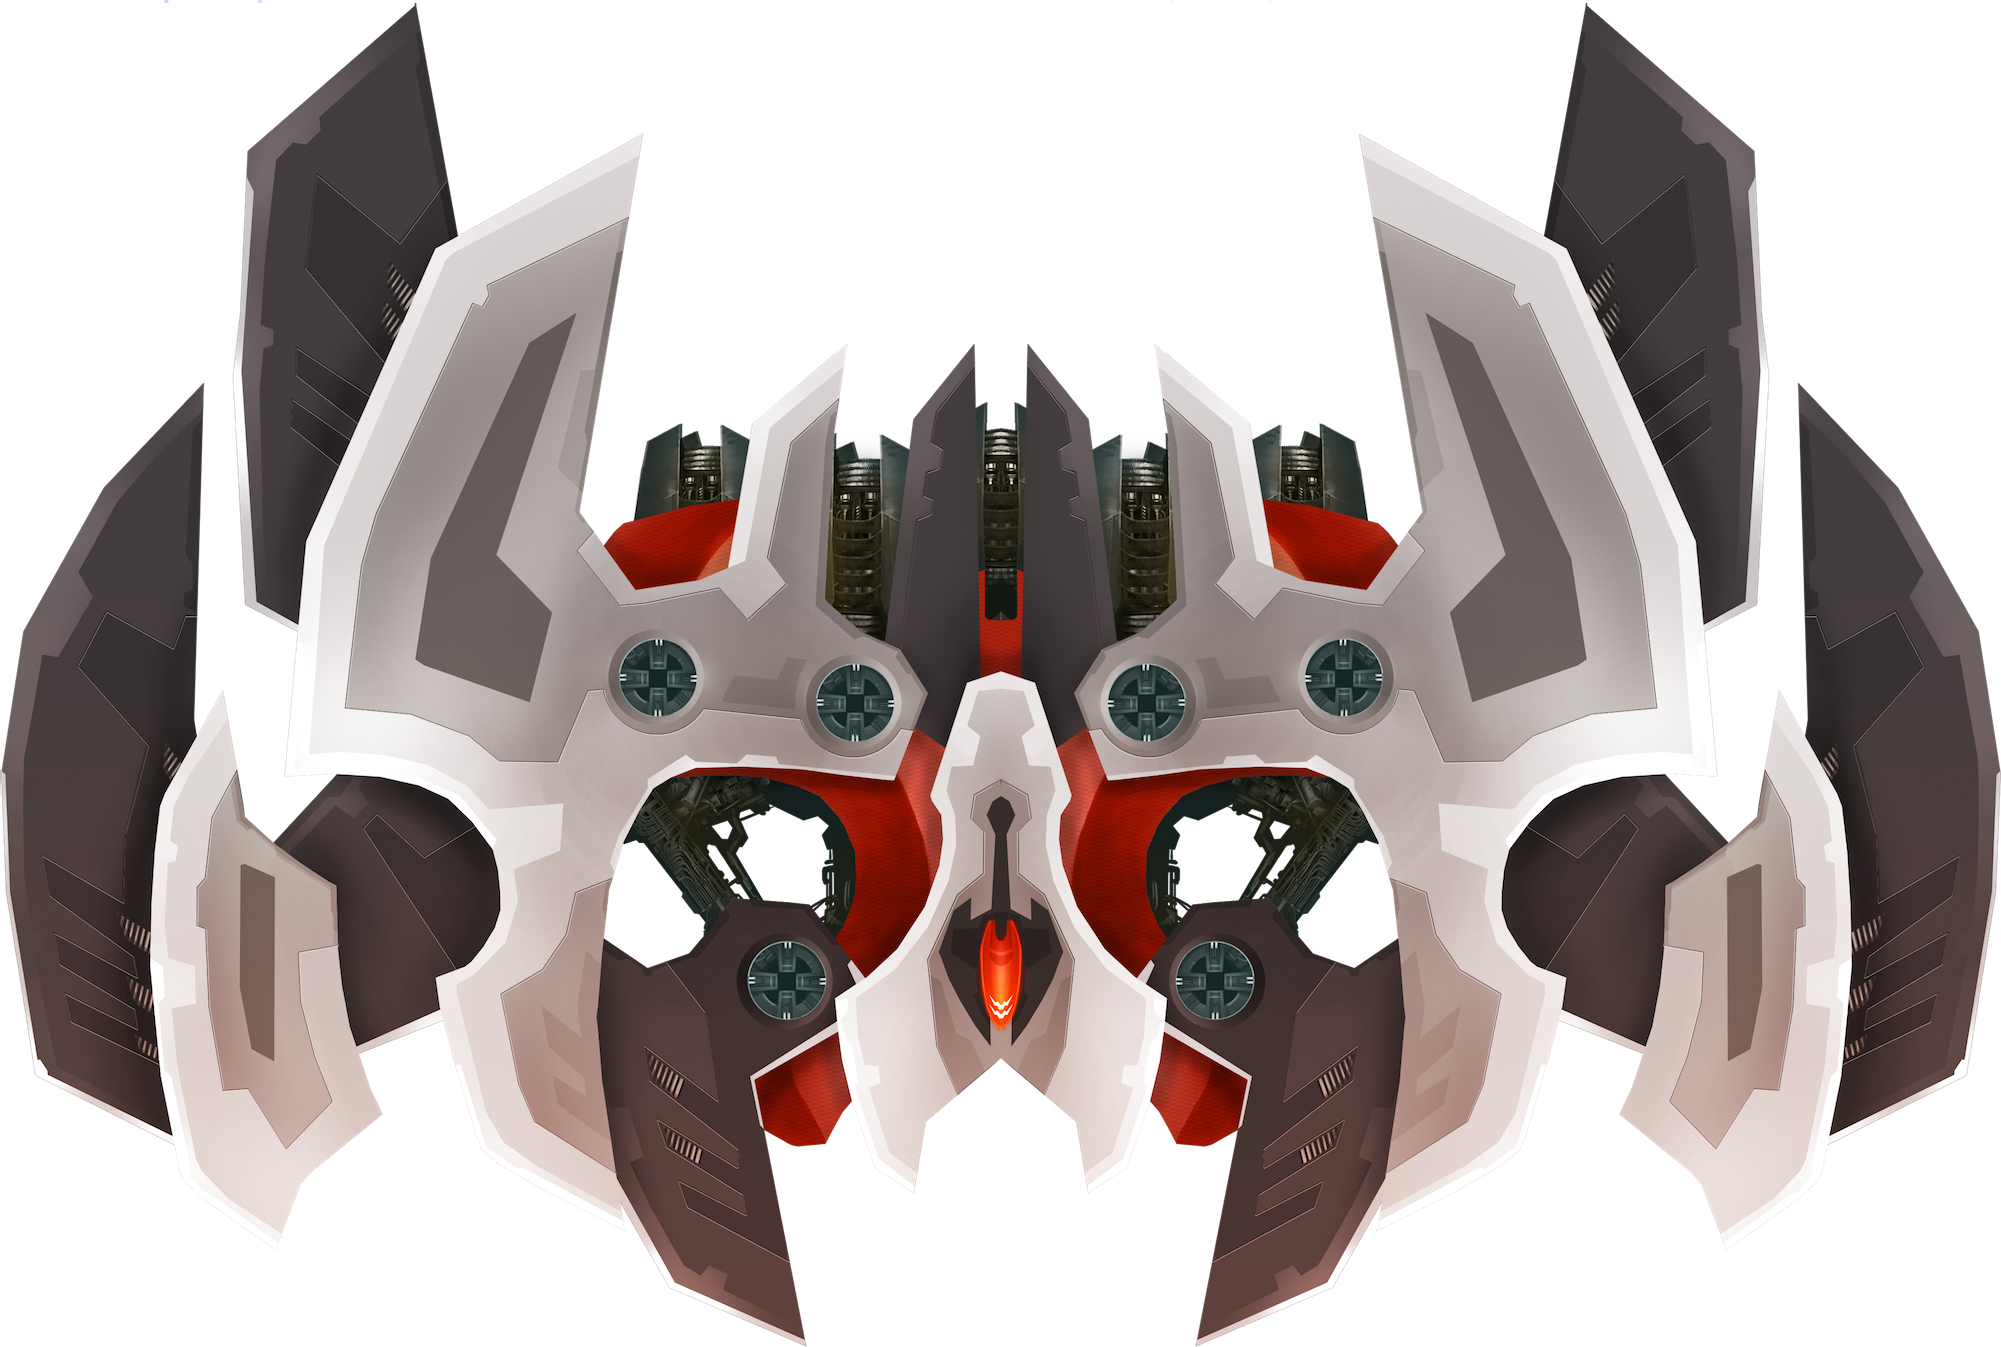
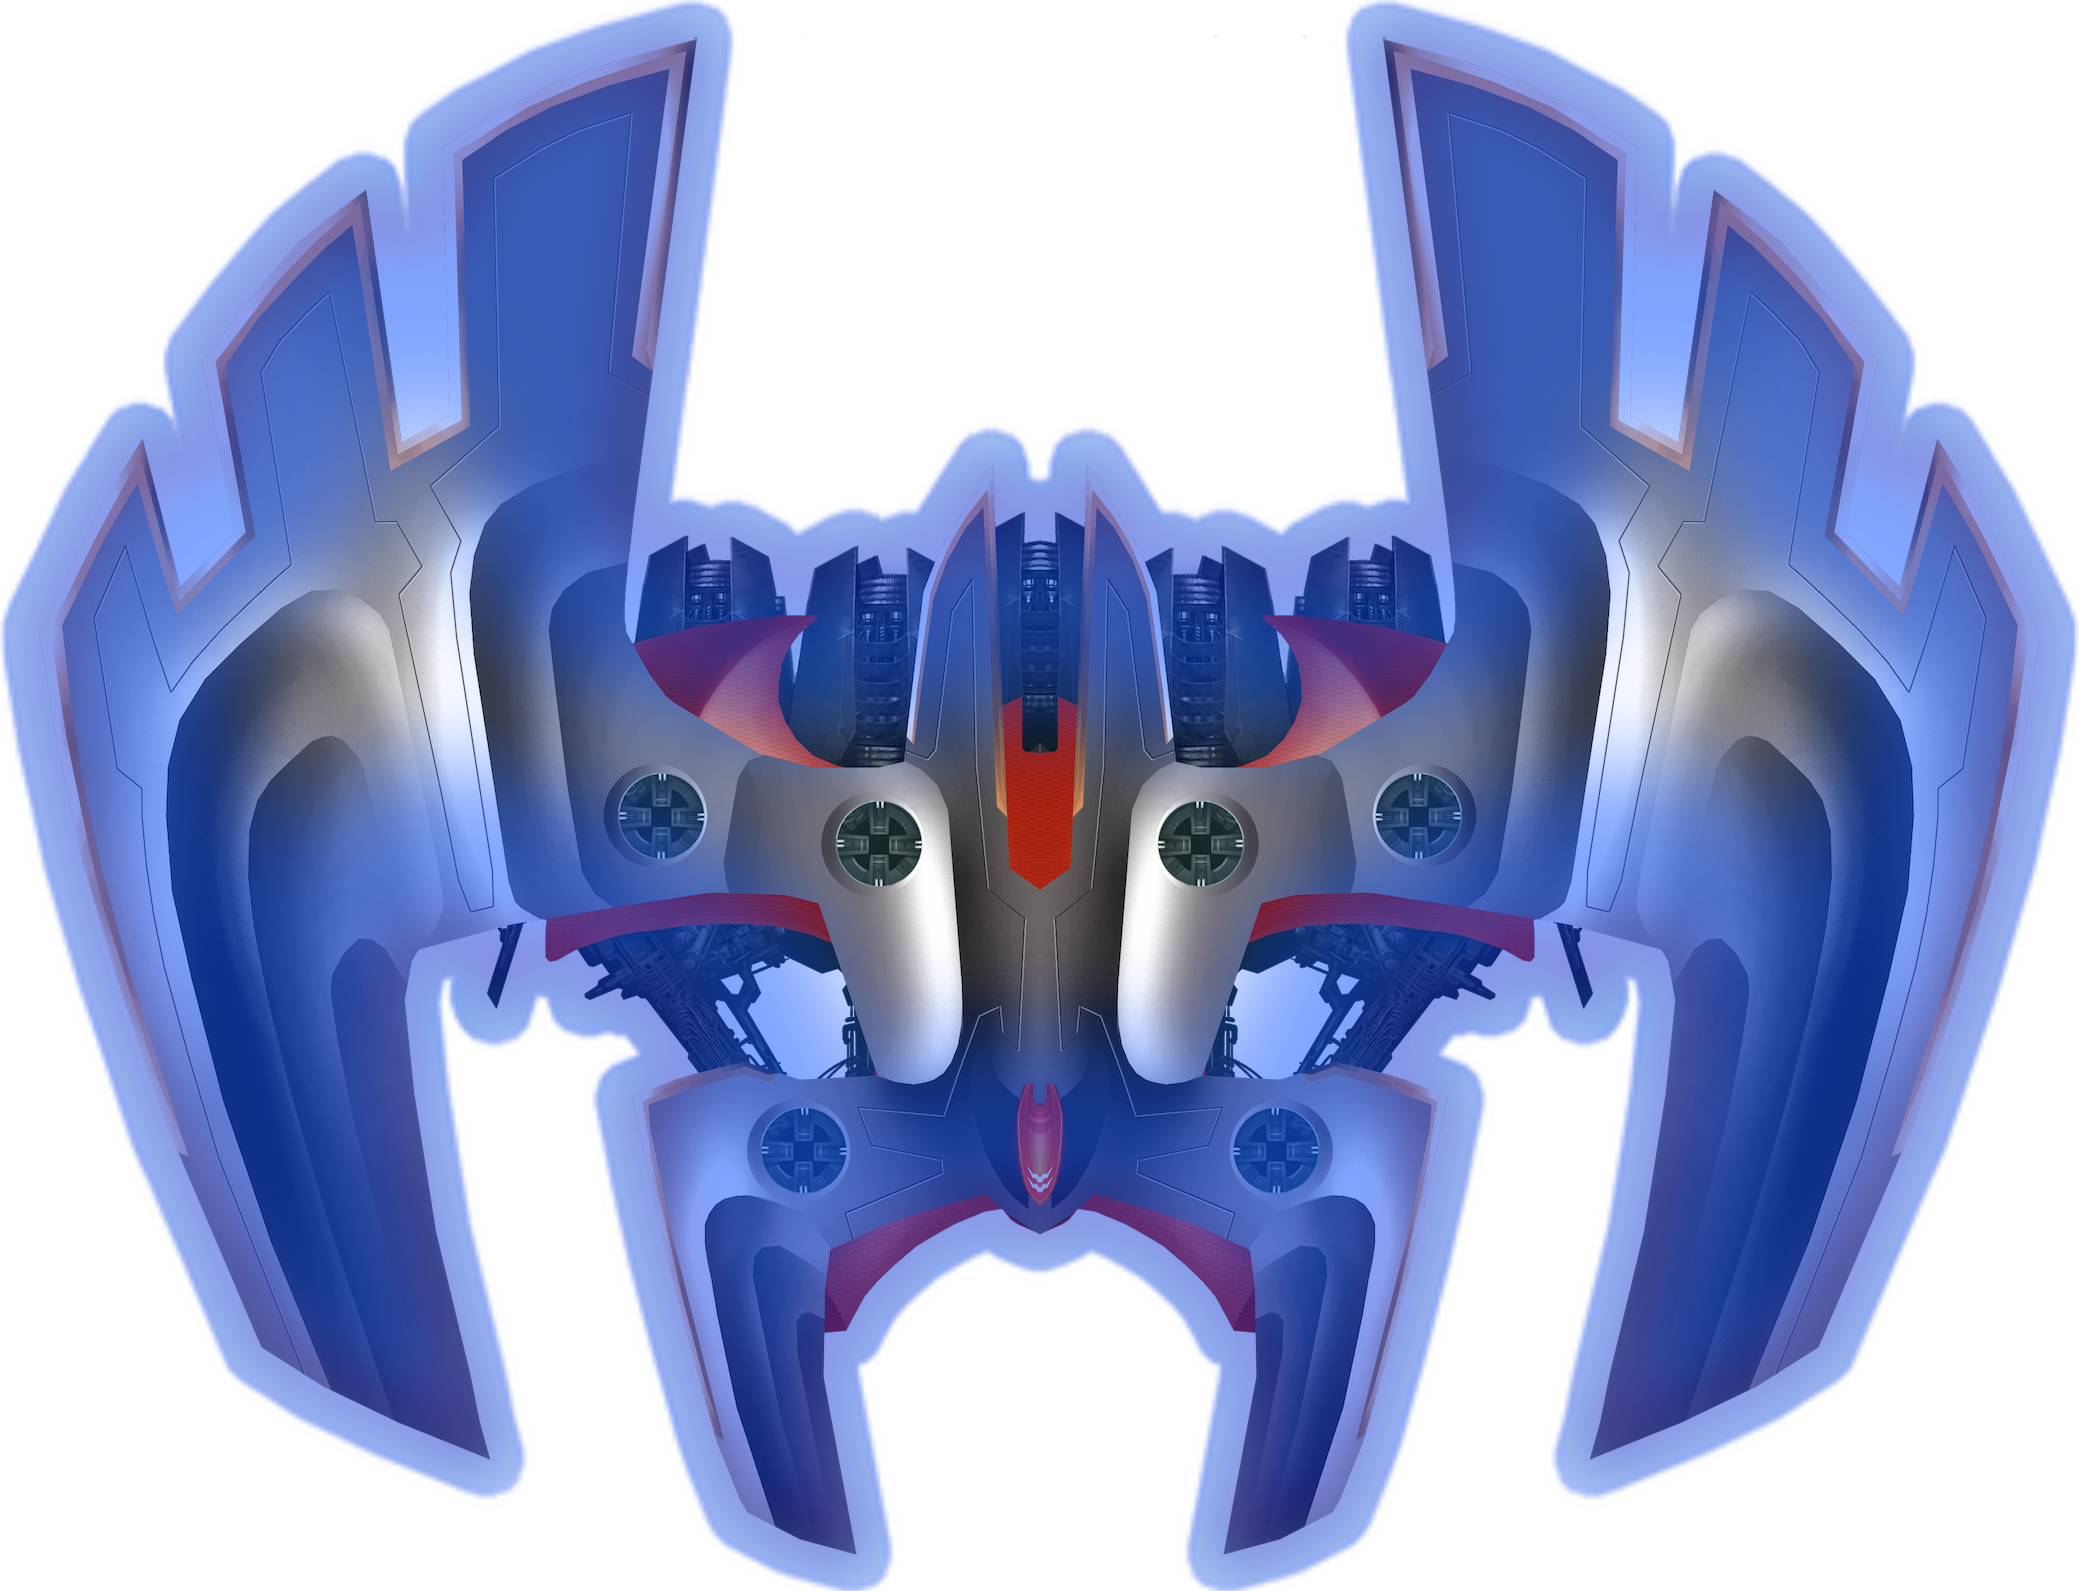
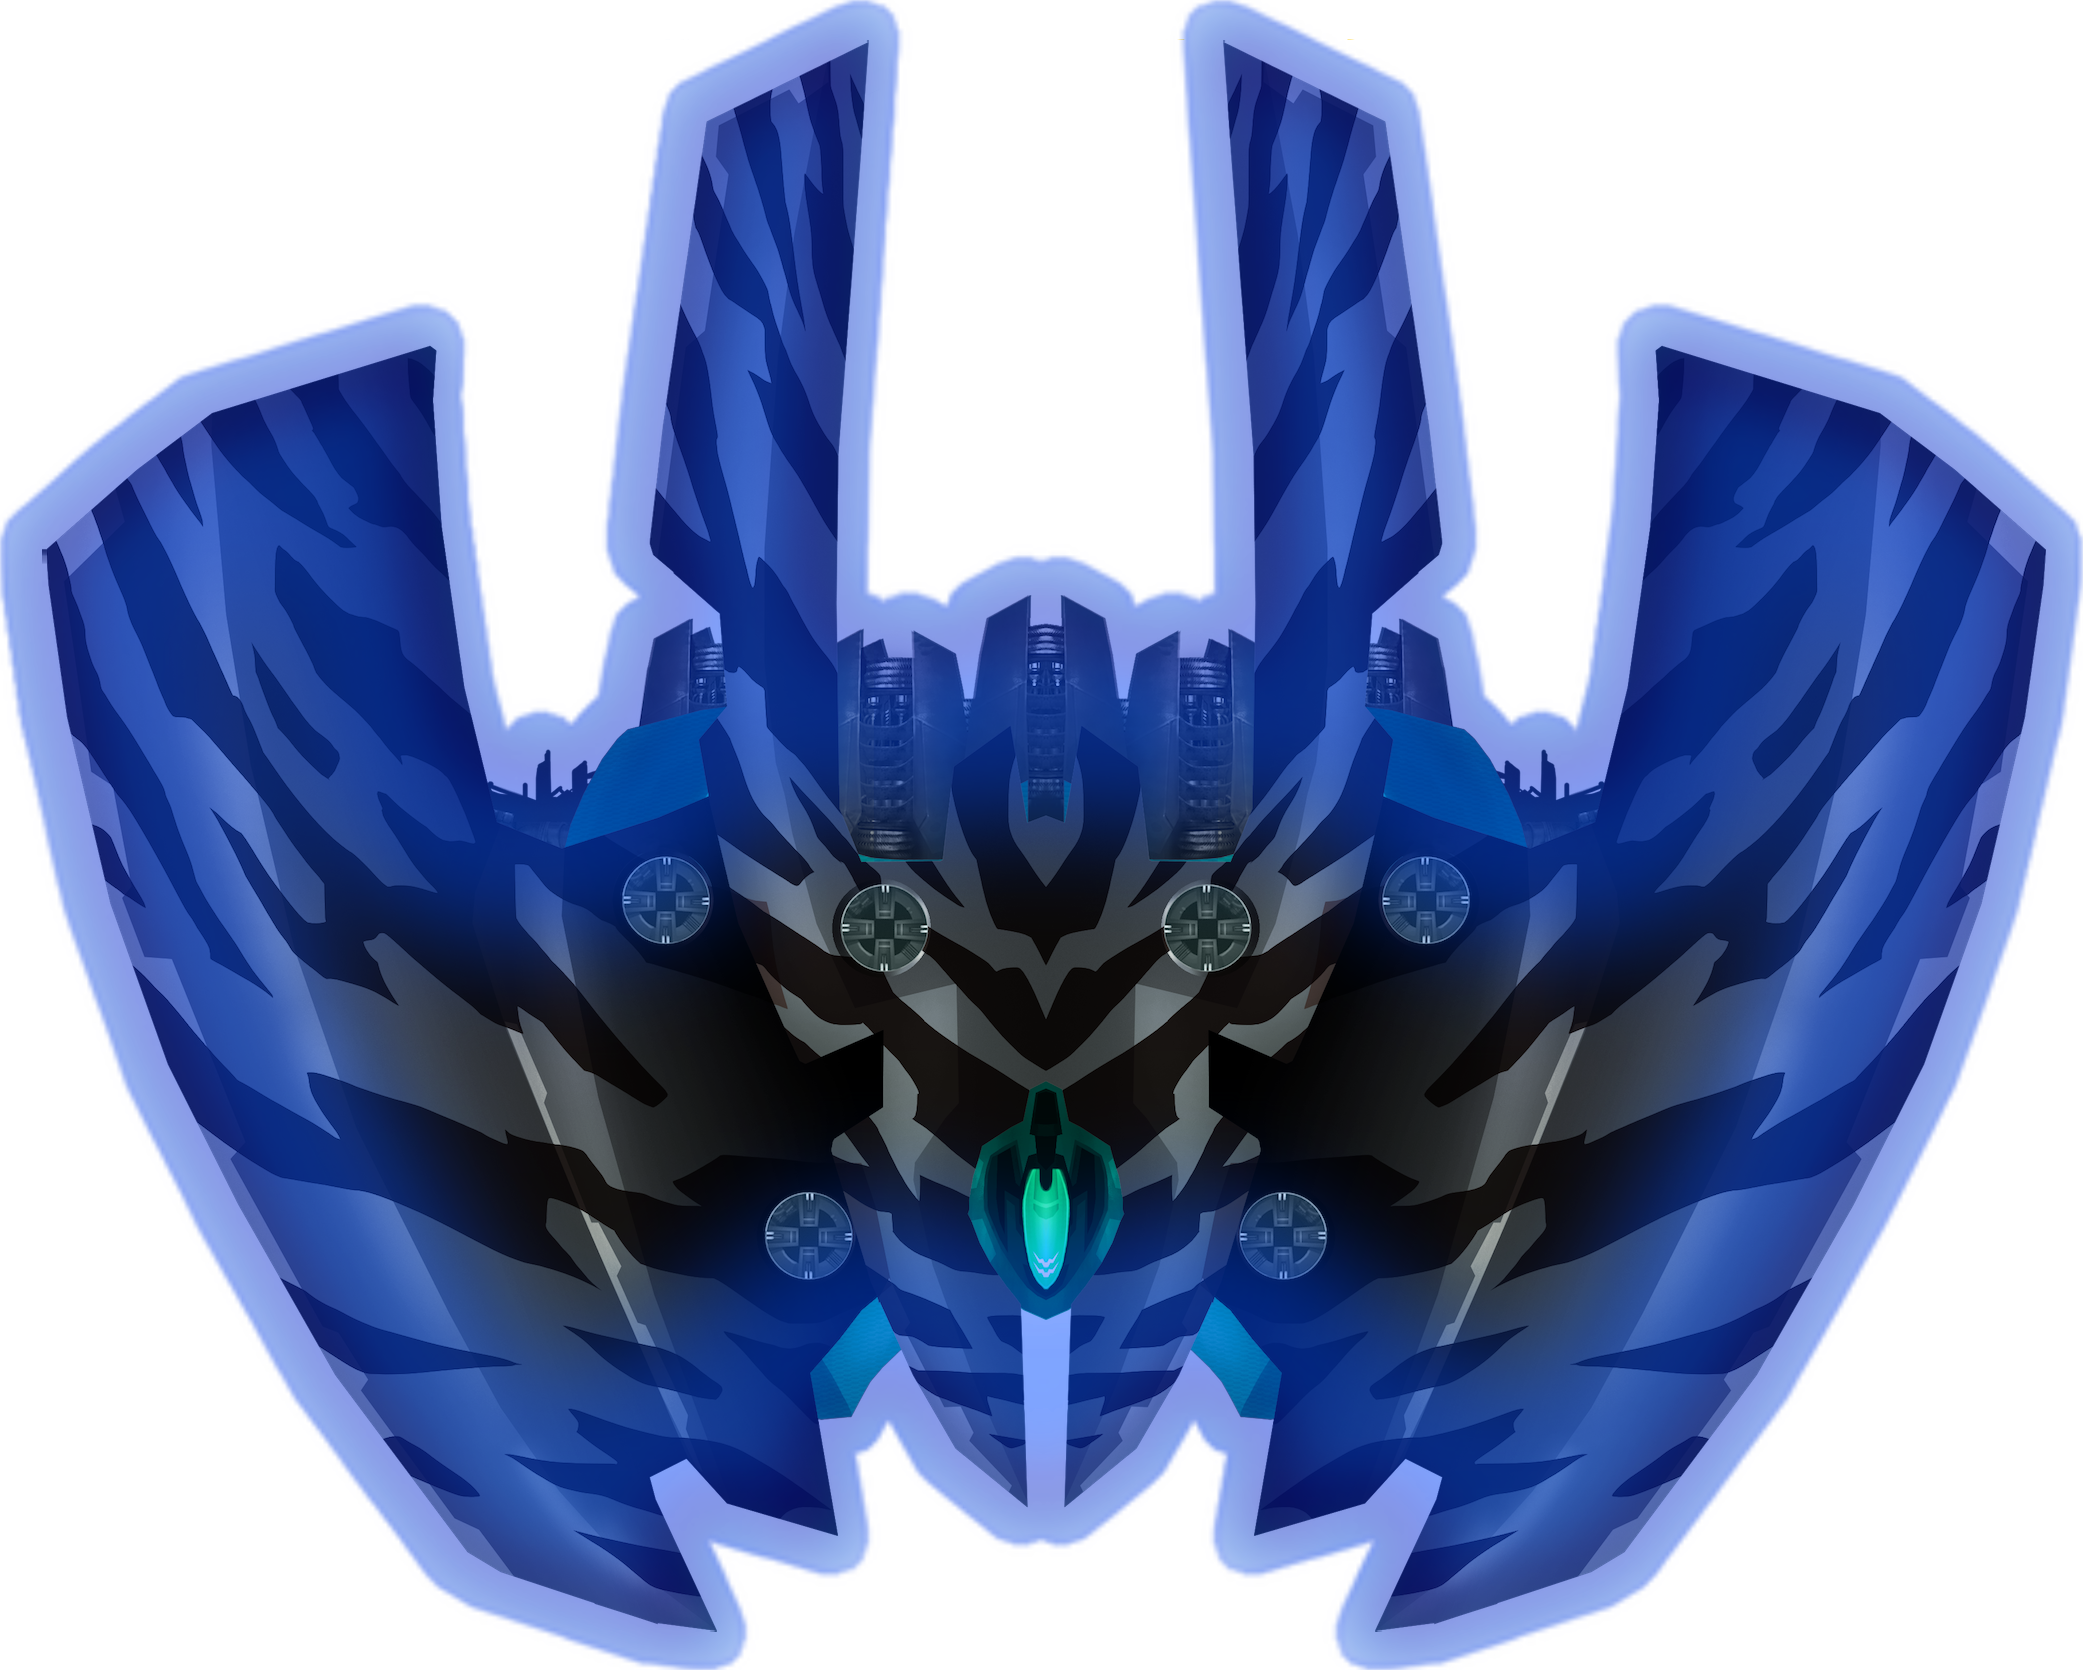
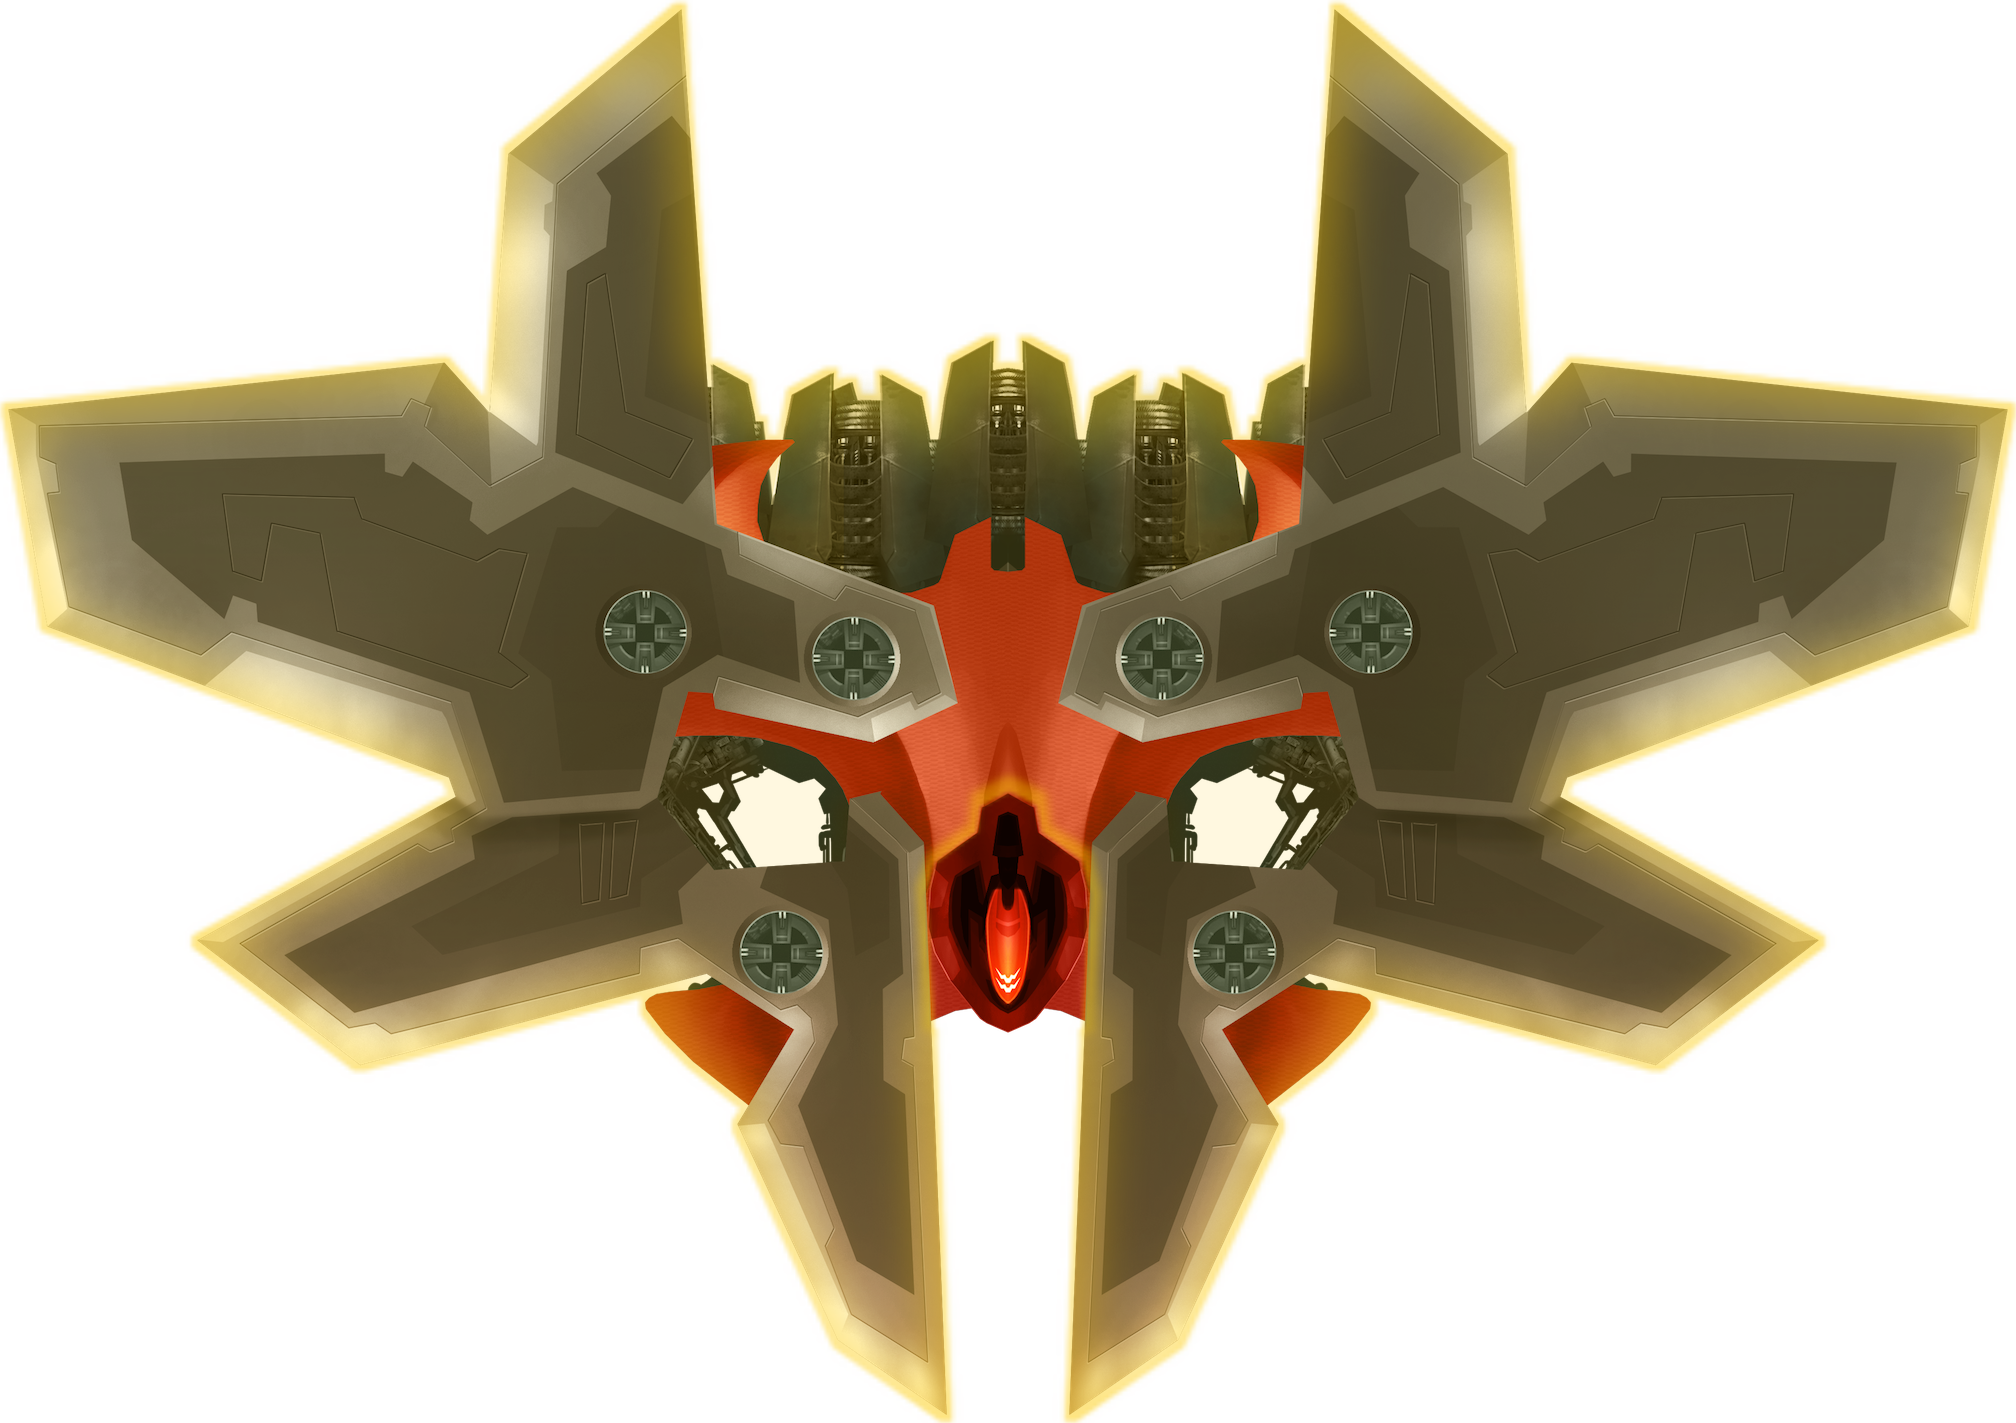
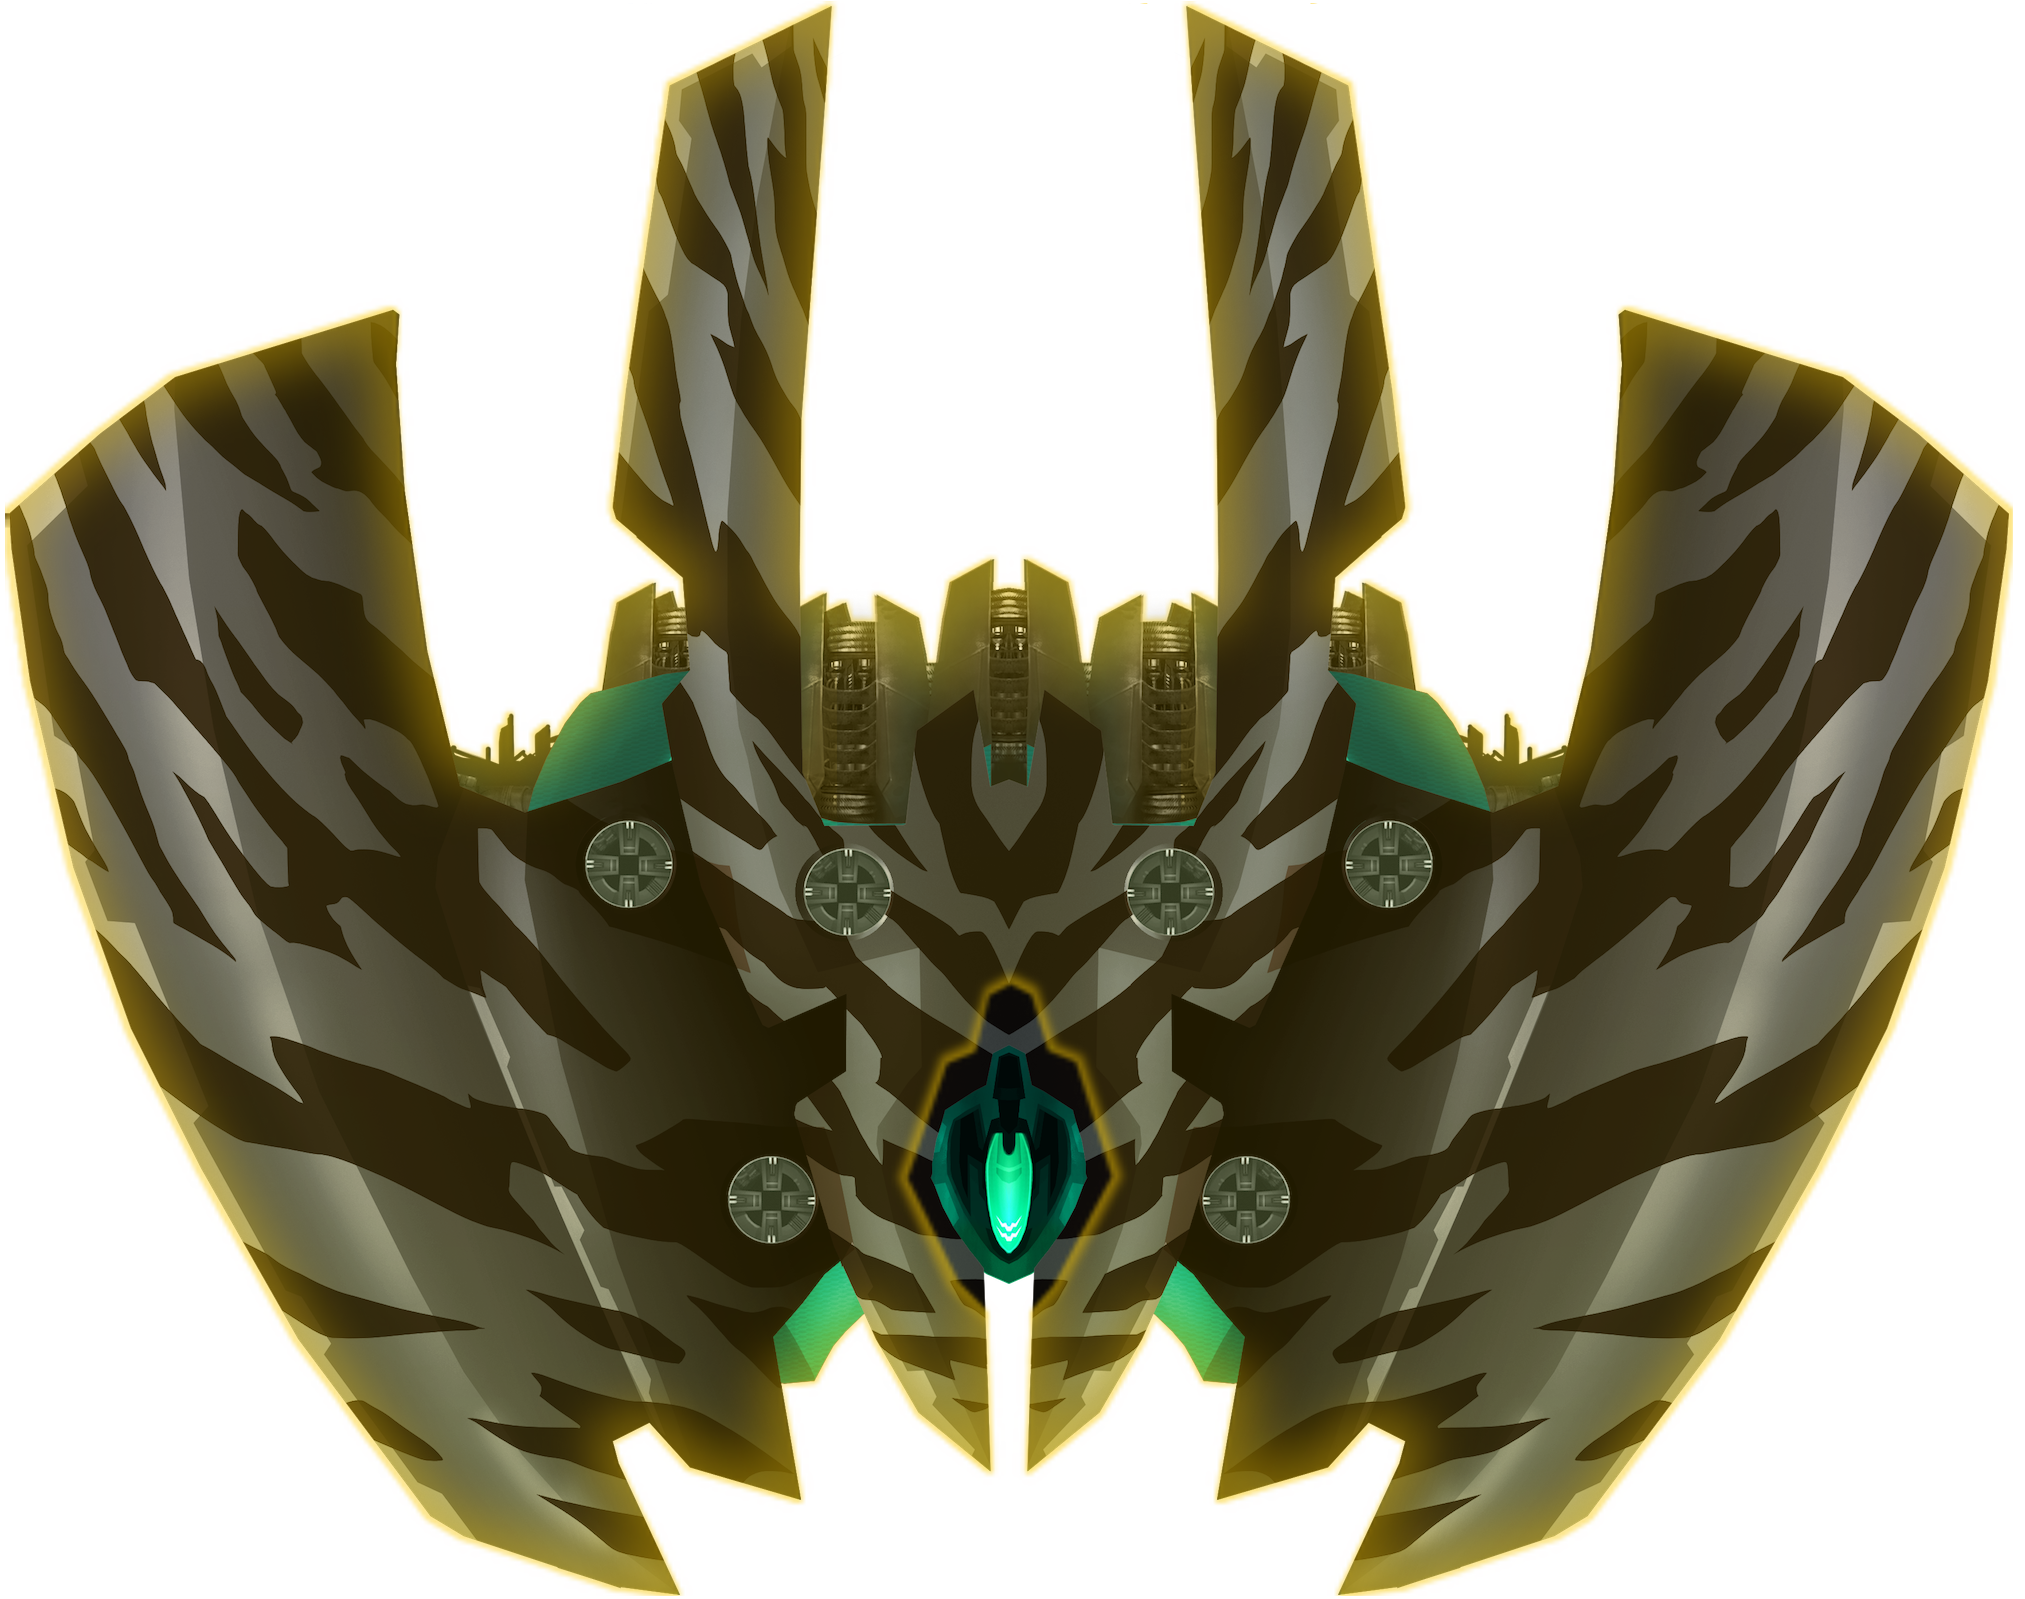
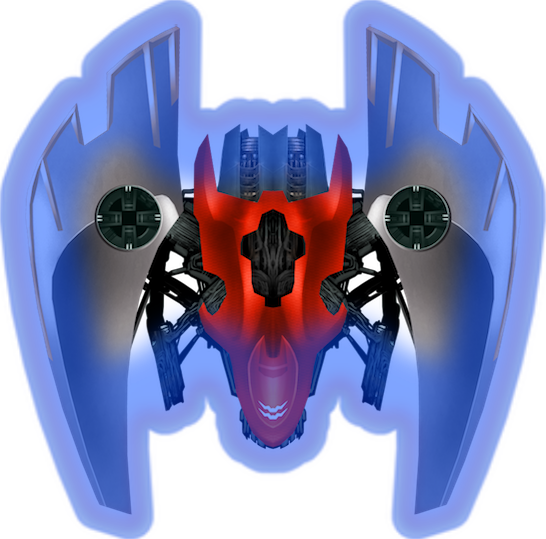
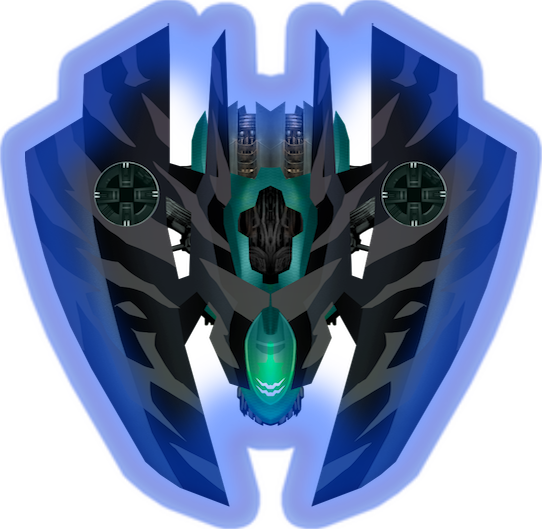
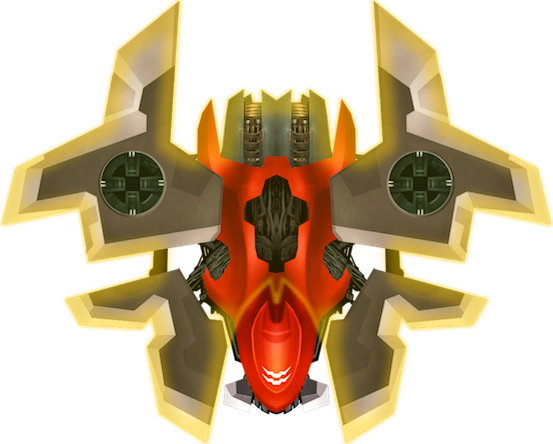
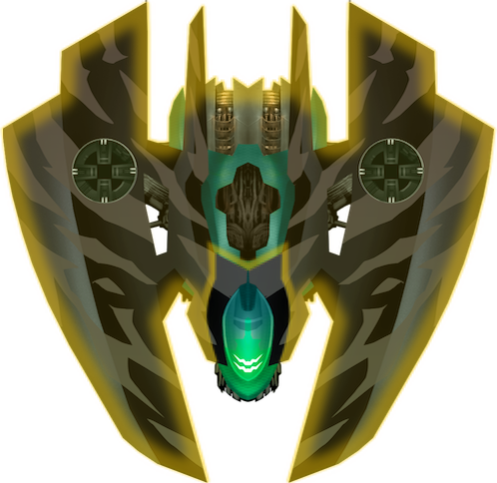
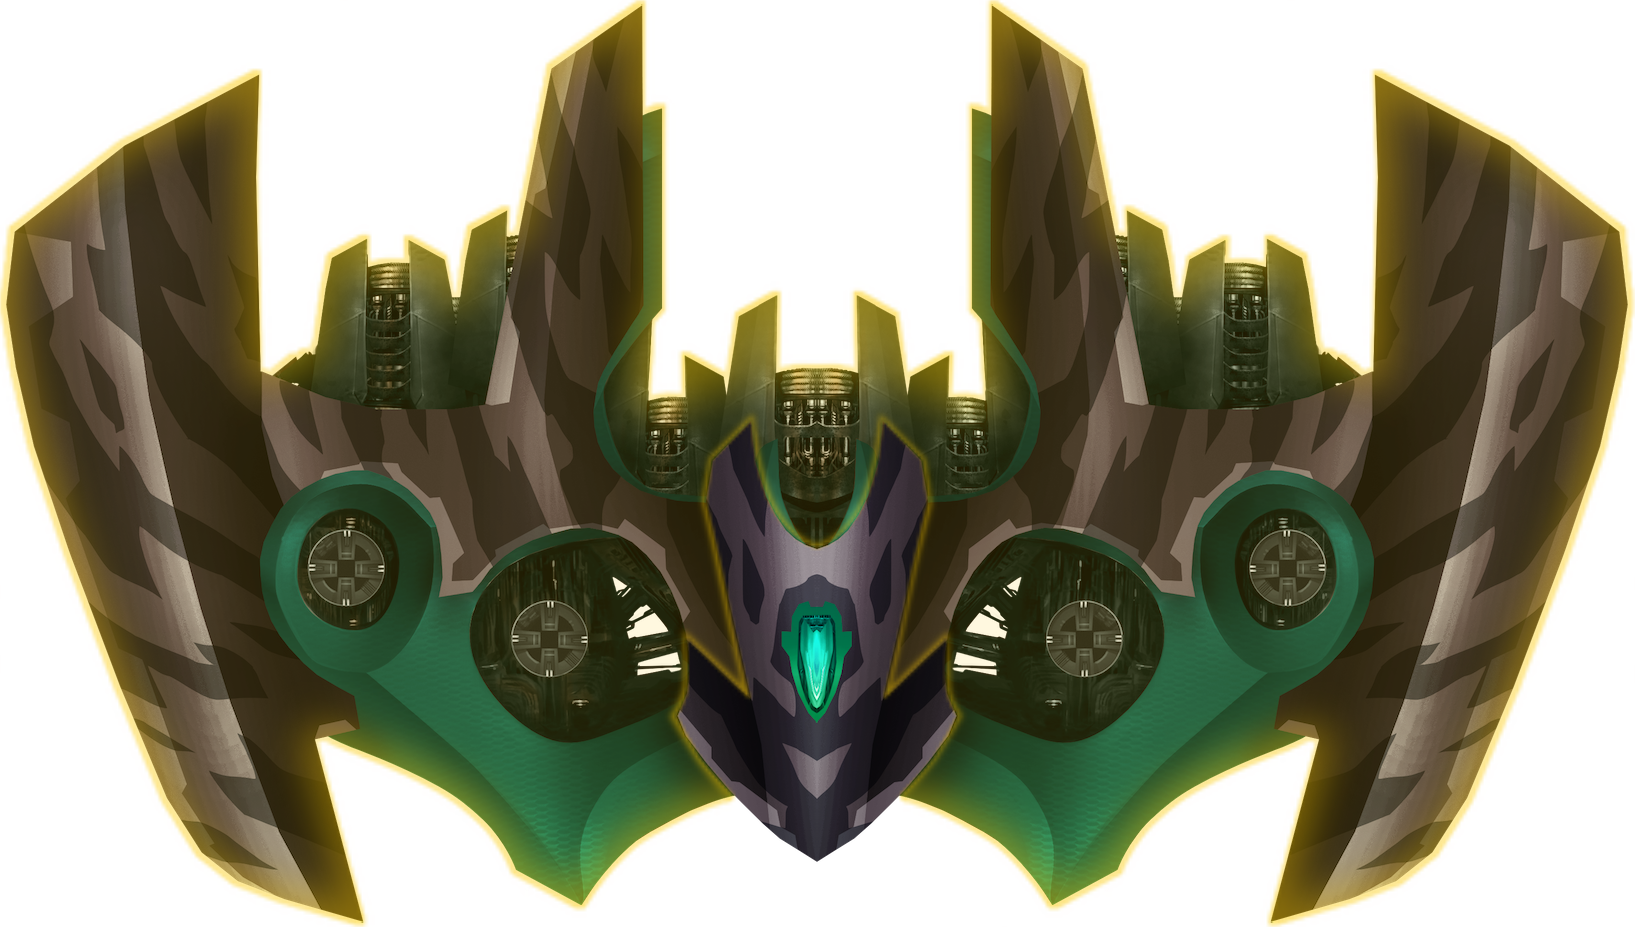
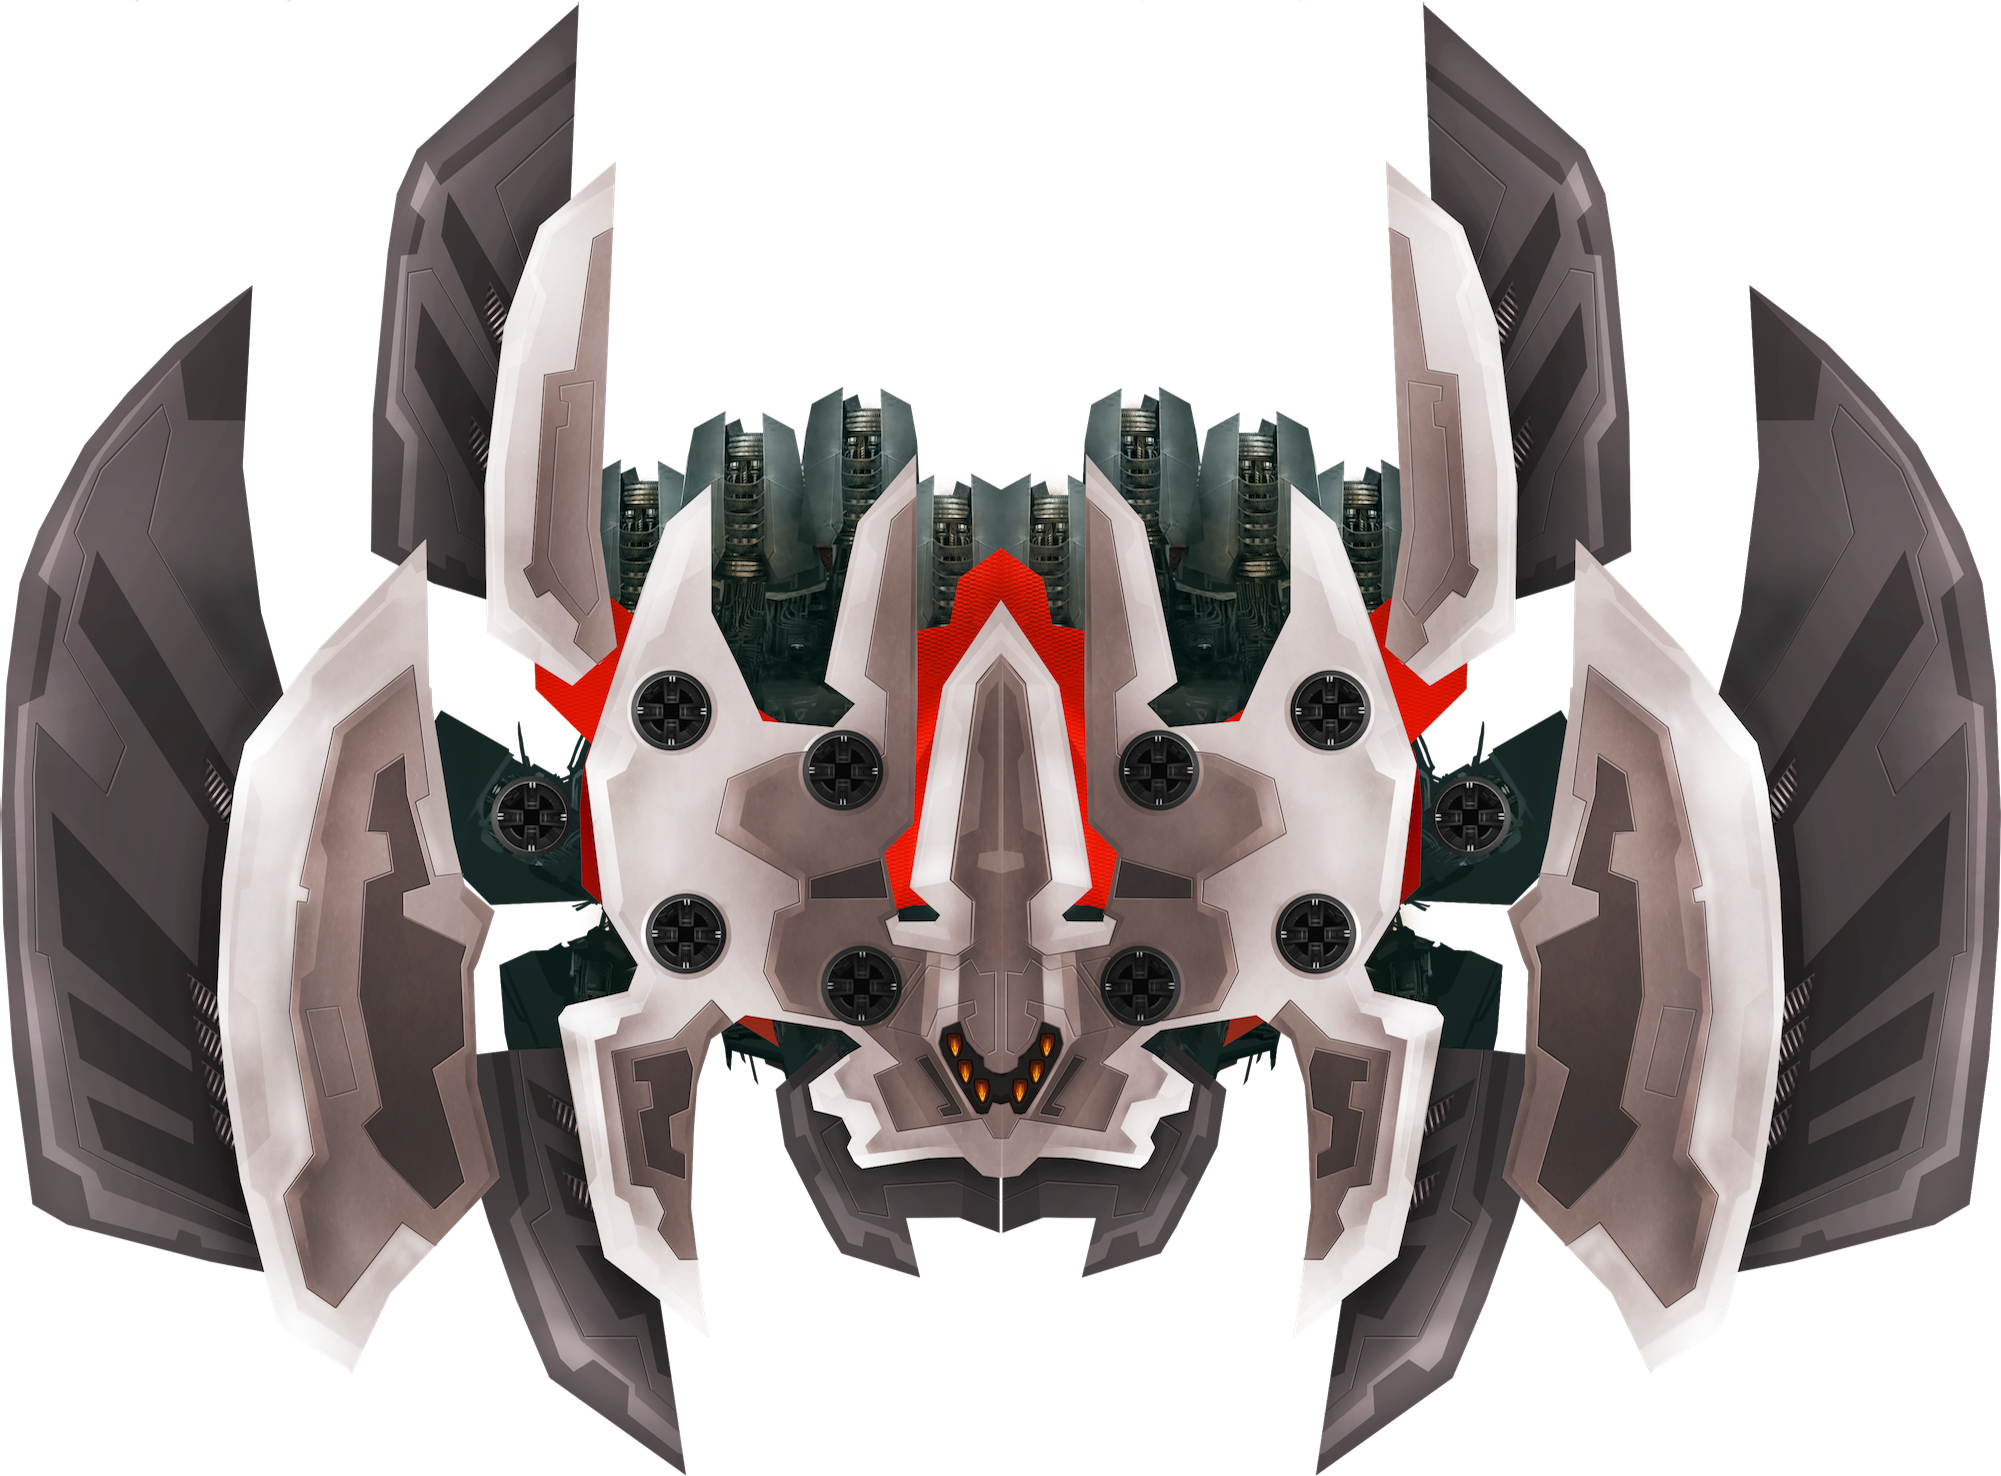
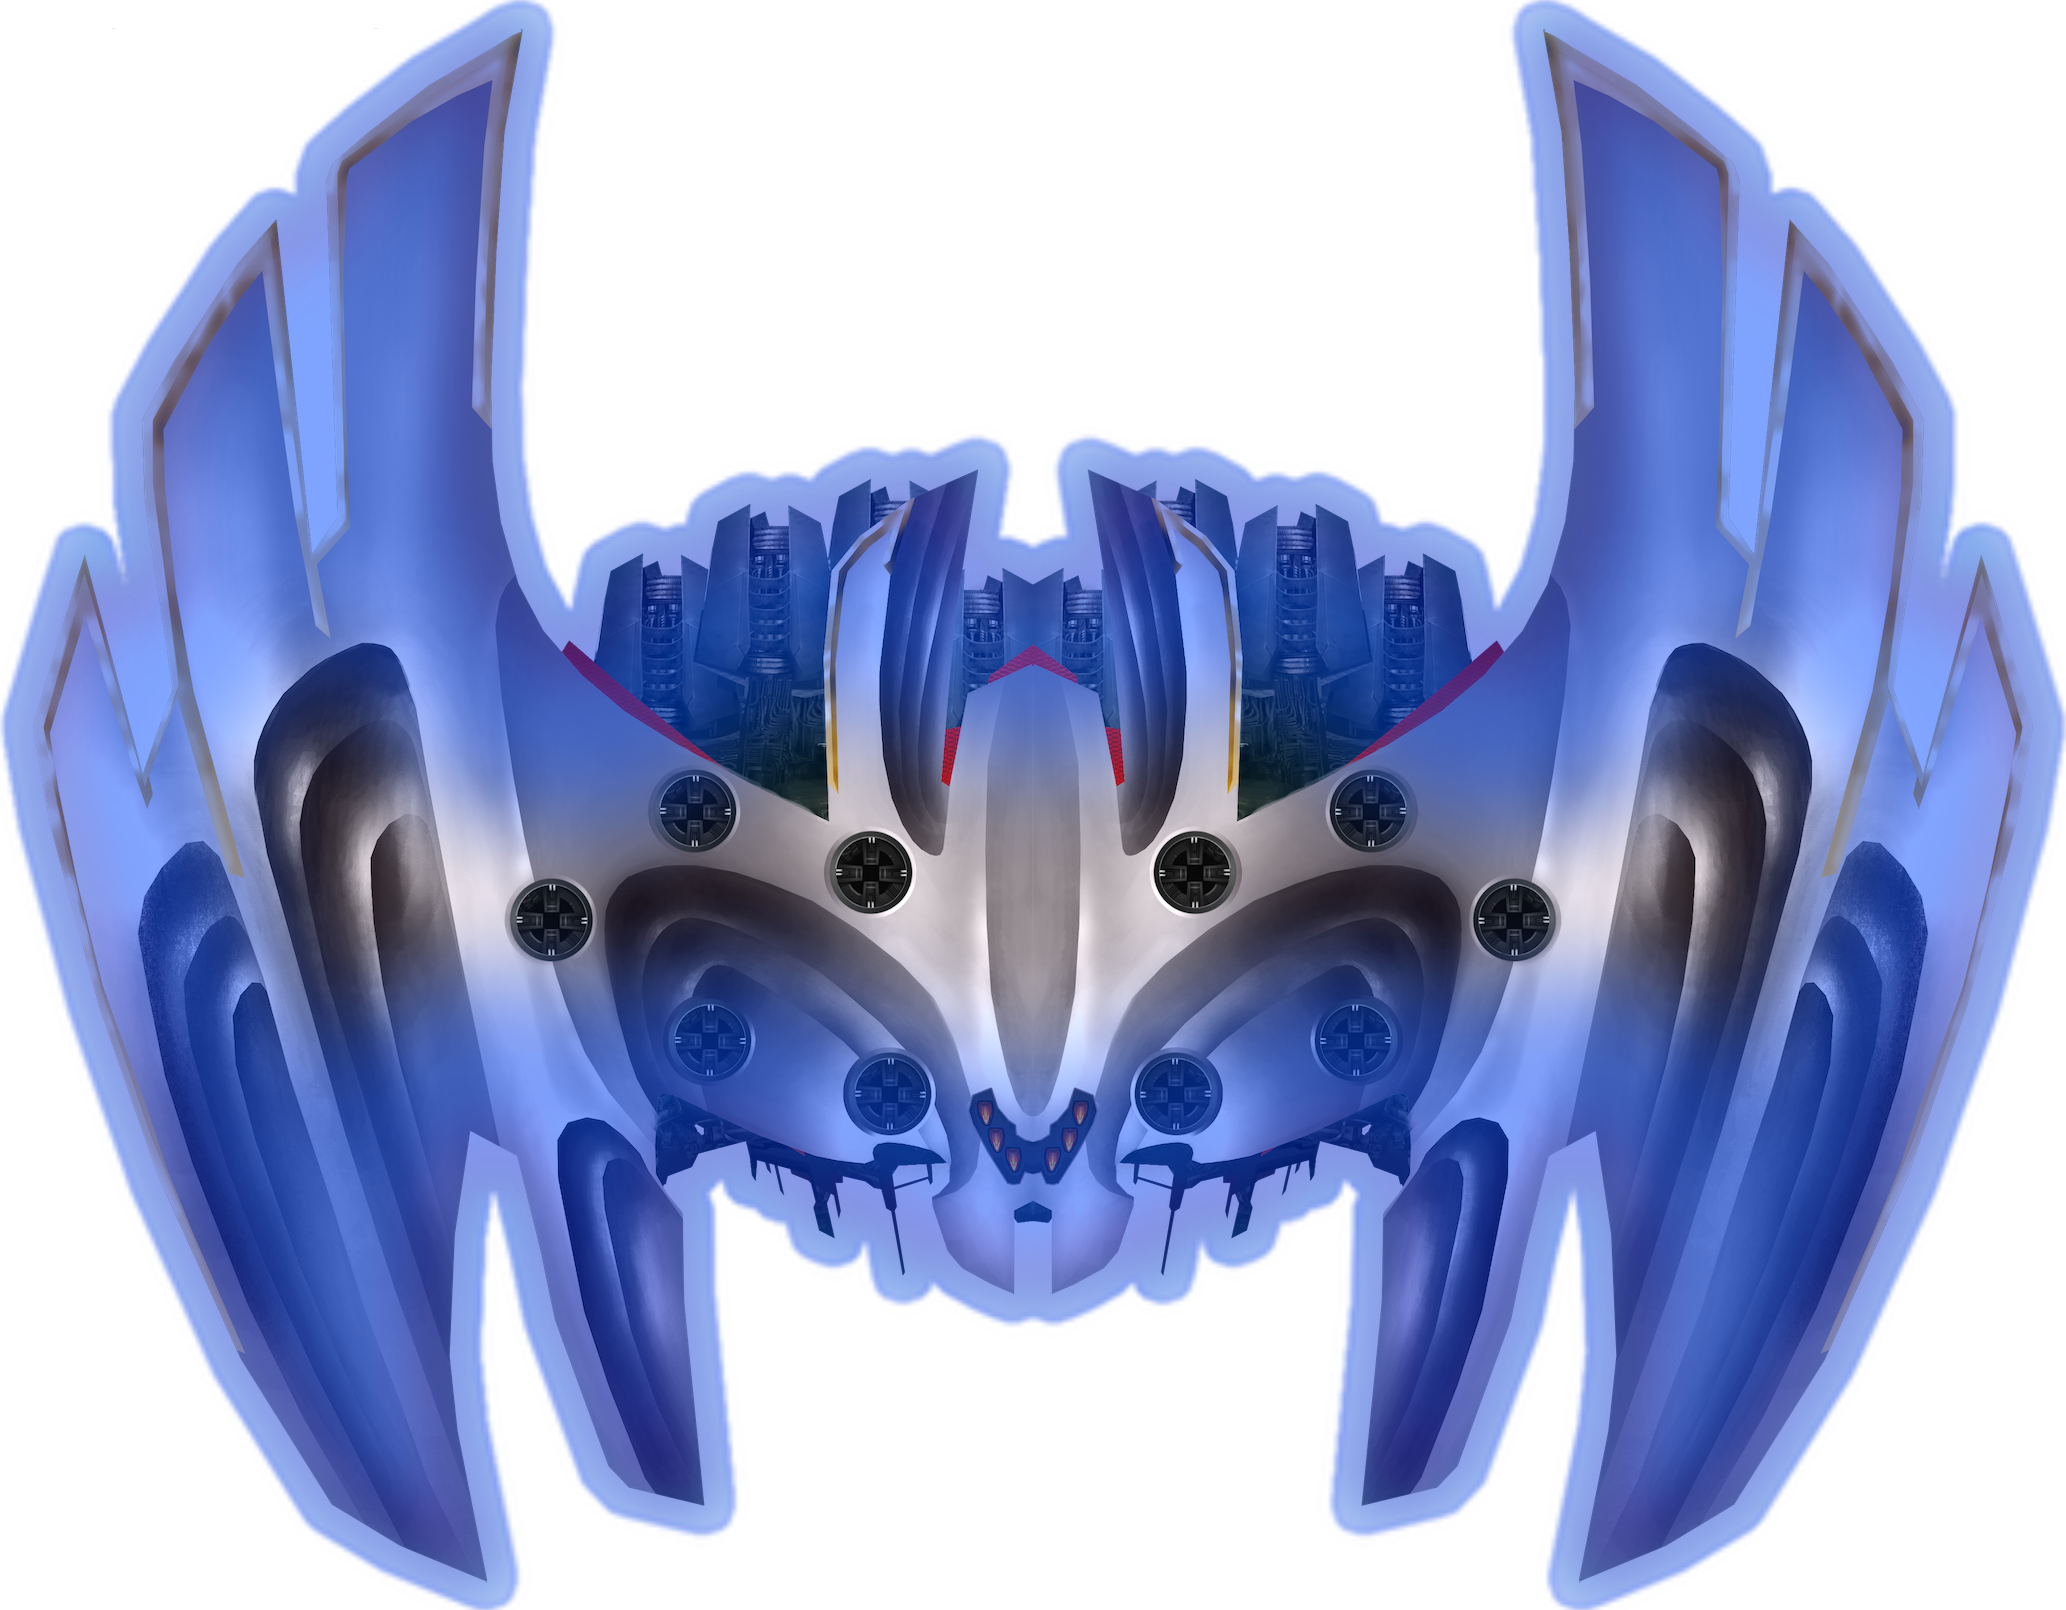
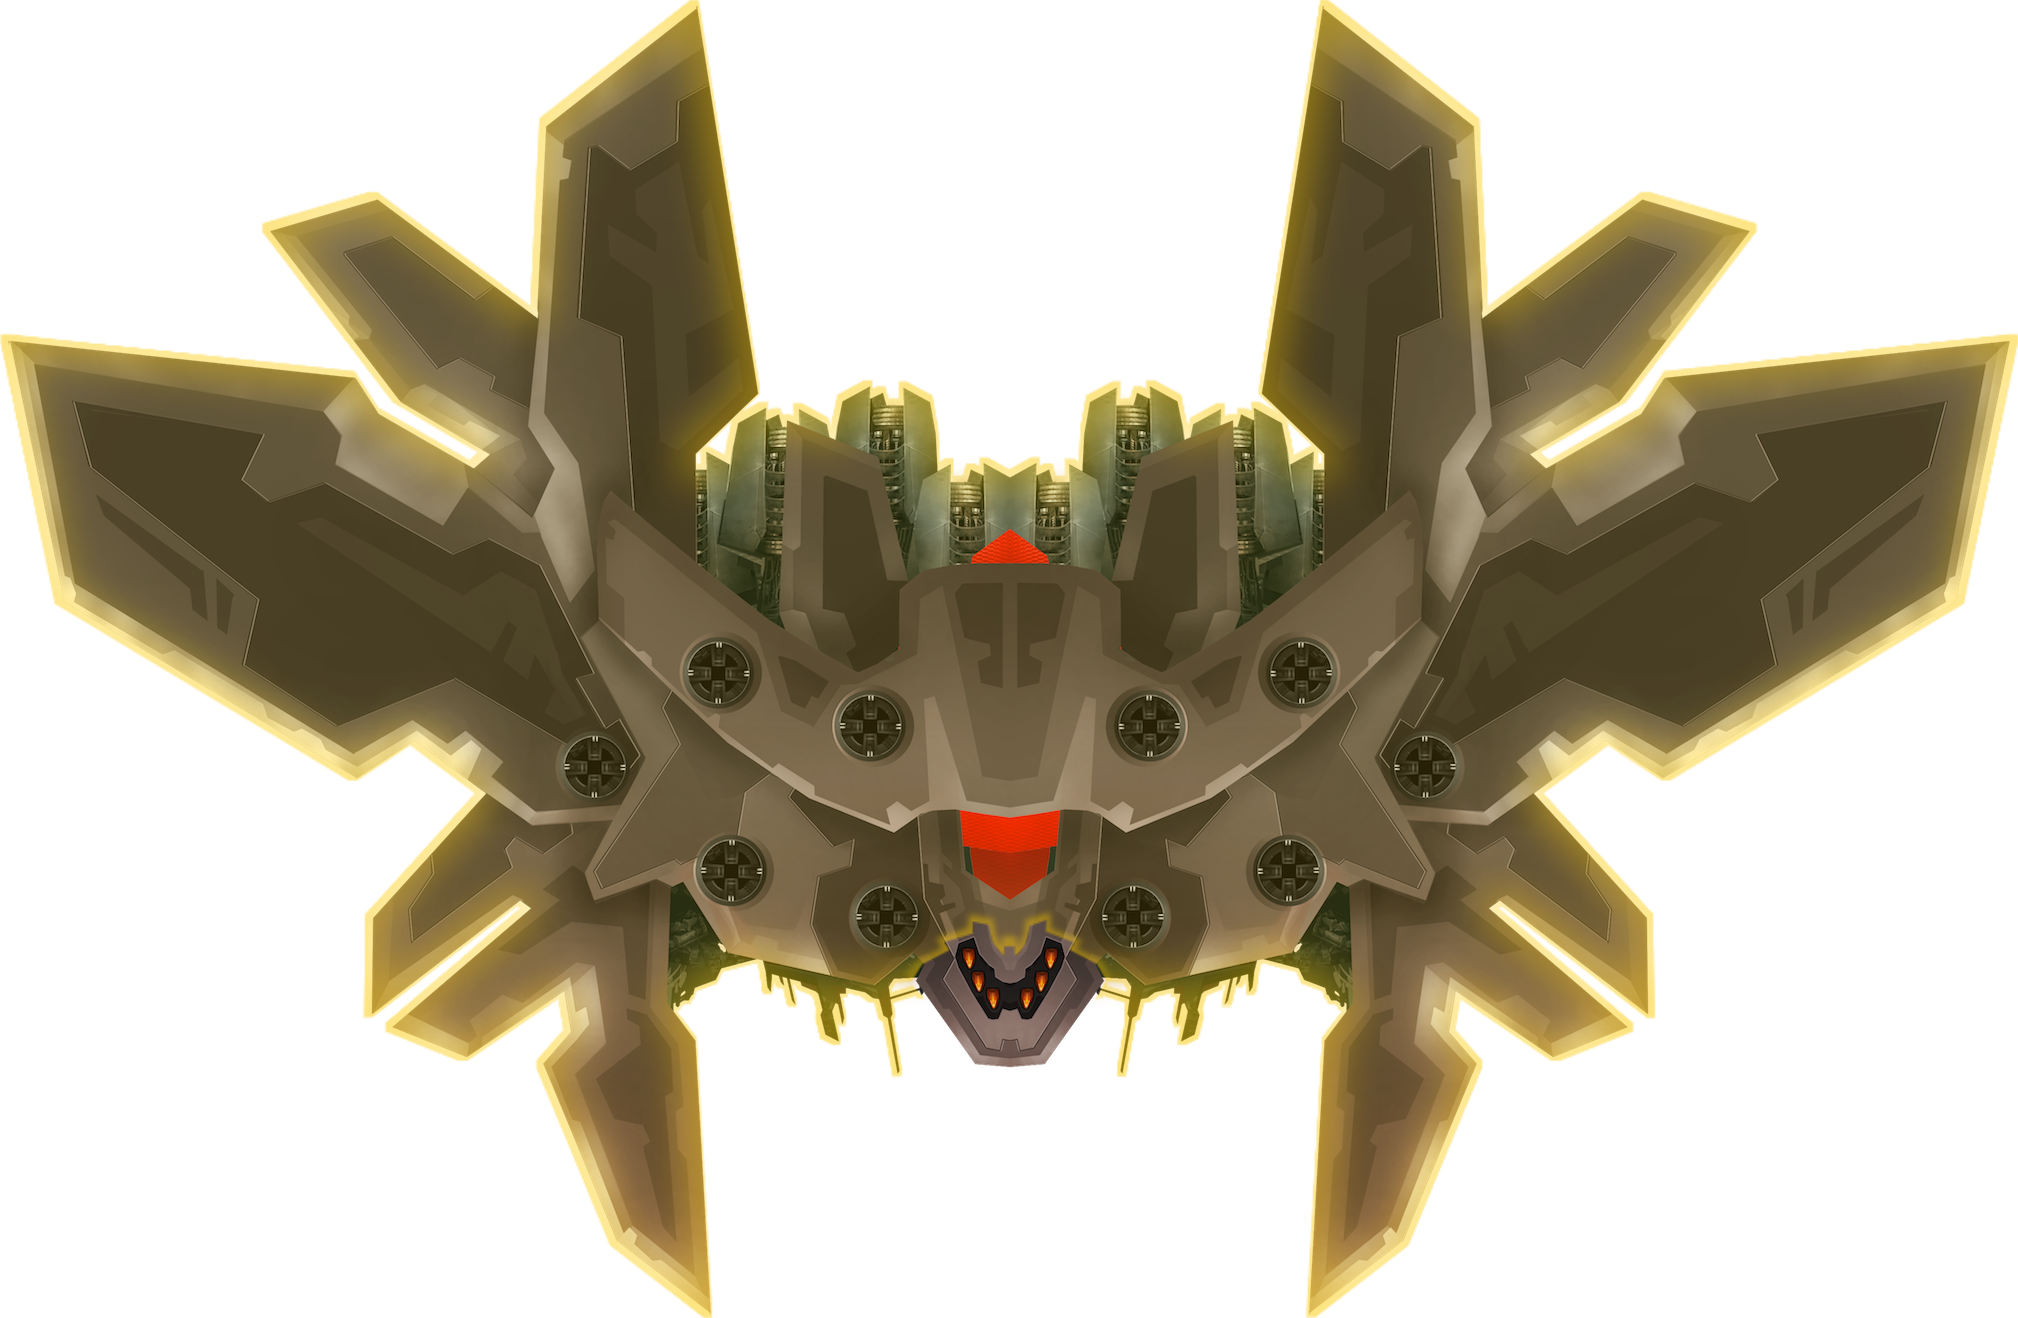
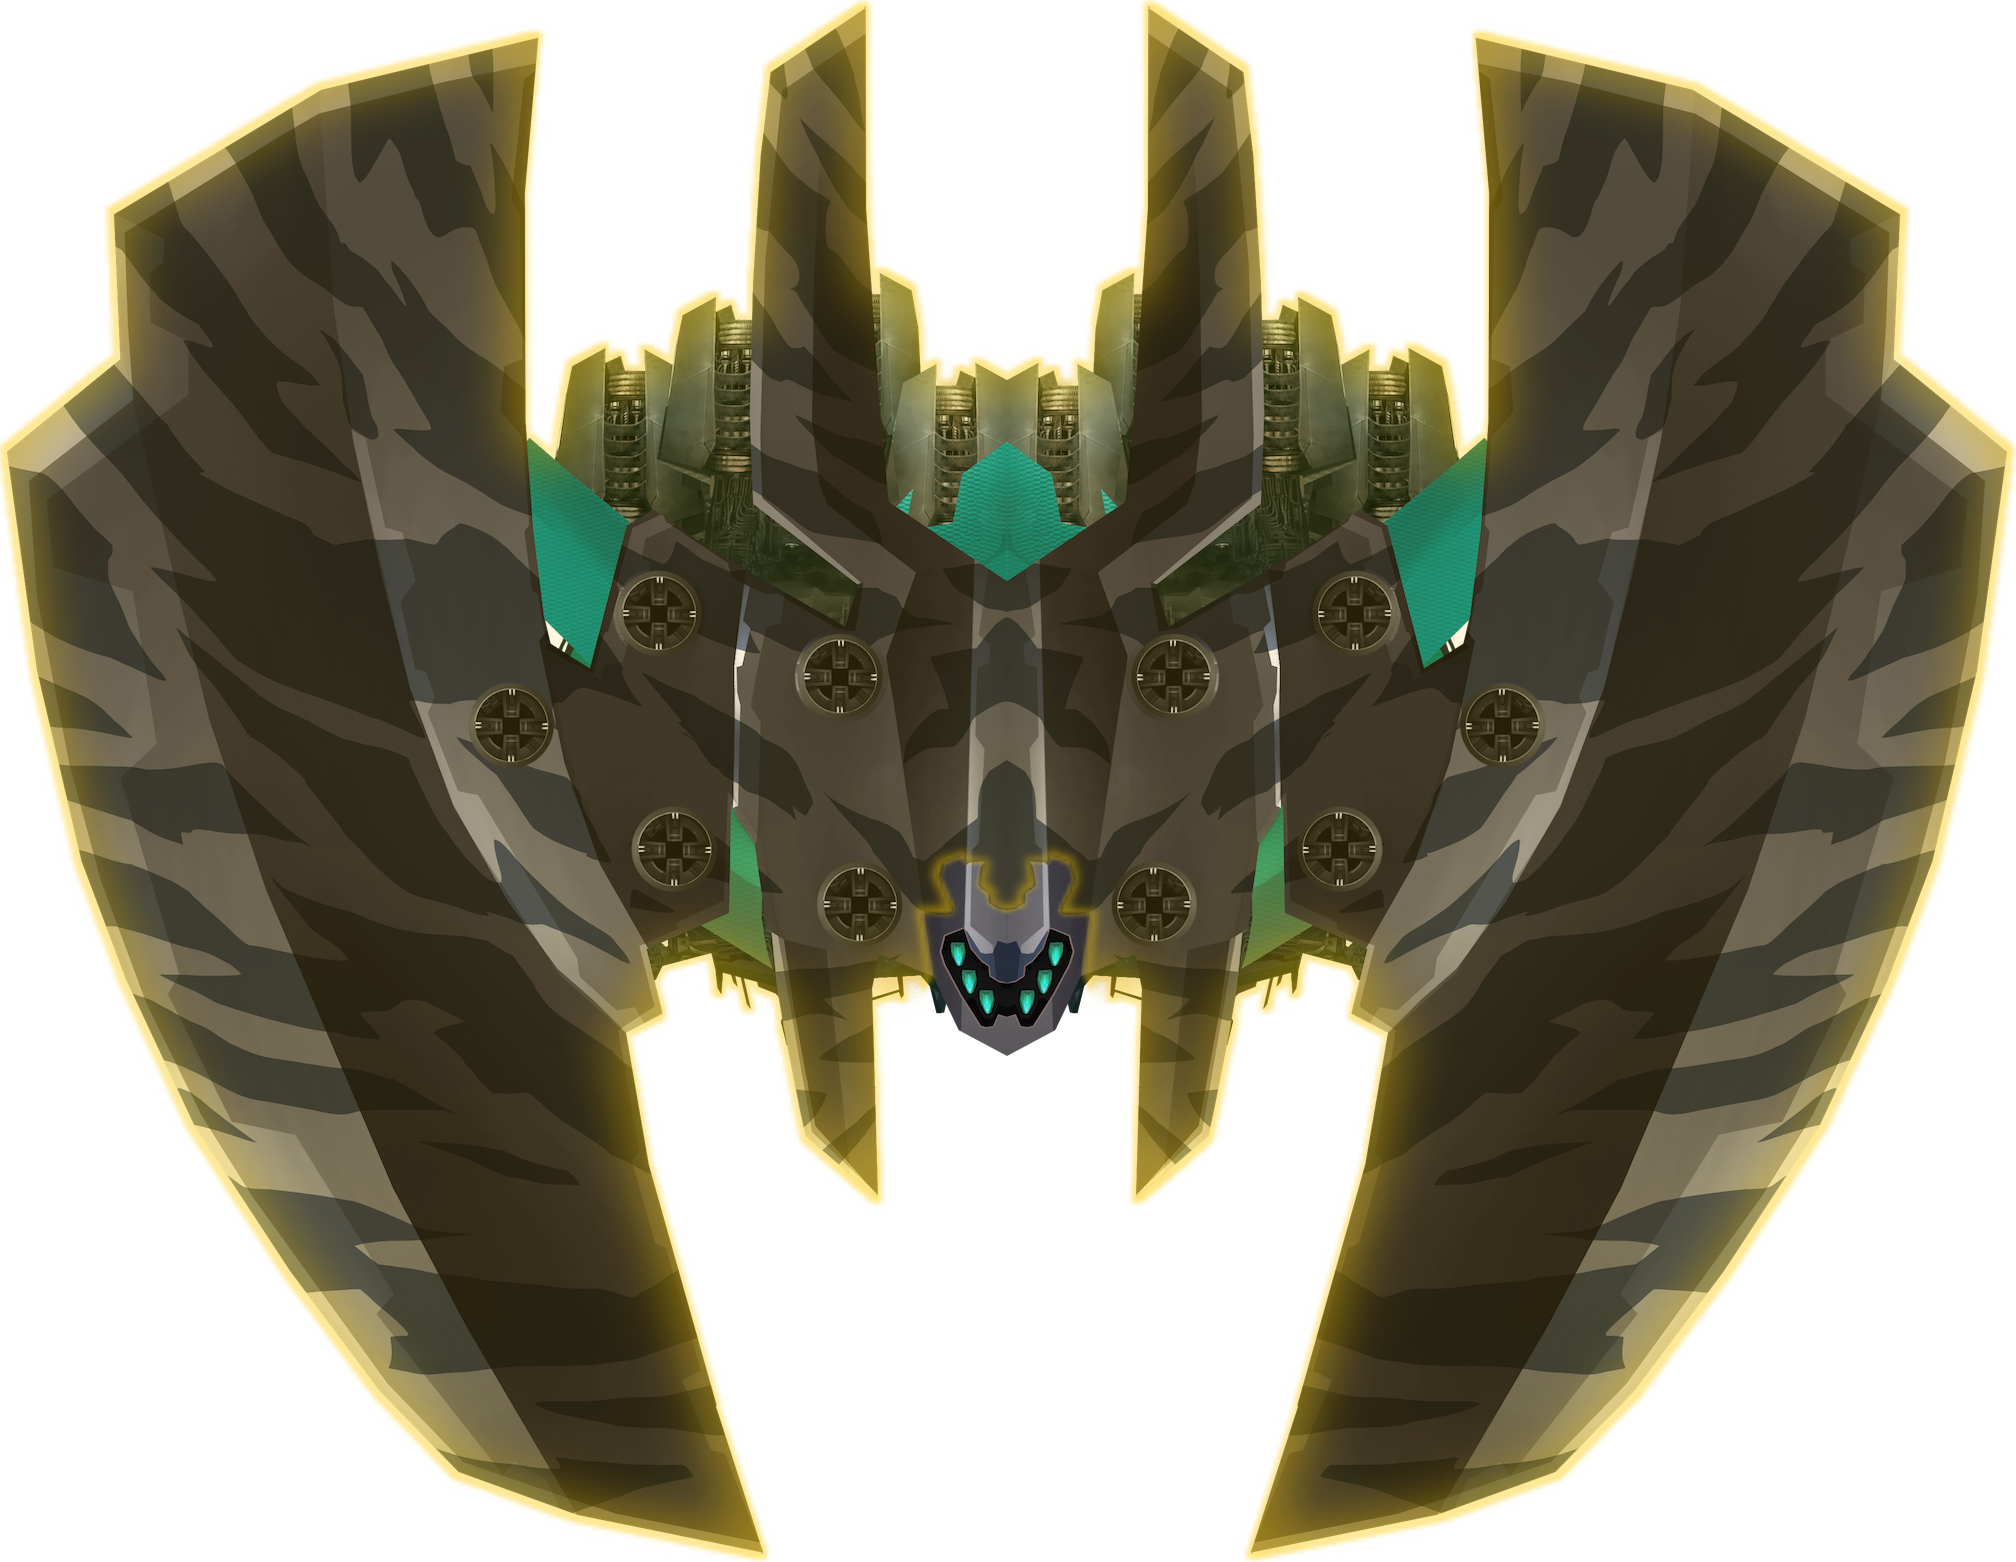
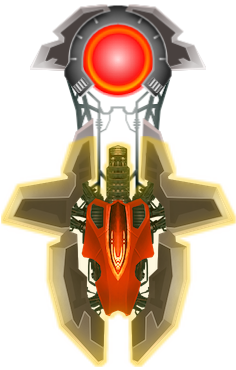
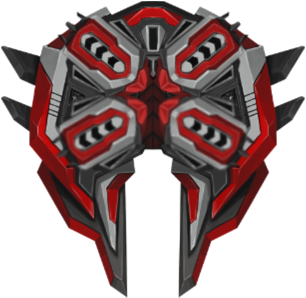
Rocs
Roc-class Invaders
- Colossal size, biggest size
- Has 10 turrets
- Near zero movement
- Usually takes up half of the overall screen space
- The icon below that indicates a Roc's presence in a mission:

In the images below, from left to right, the affinities of the Rocs are as follows:
Turrets
Turret
Turret Collision
- For most turrets, it is possible for your ship core to be on top of the turret's outer edges, and still not die.
- This technique is known as turret riding / inside graze.
- This is because different turrets on different Invaders have a different invisible hit circle. So as long as you are not on top of the hit circle, you can safely stay there.
Bullets
Things that are generally RED on screen. Kills you if your core touches them.
Lasers
Unless specified, lasers refer to the regular laser which is white in color
Dangerous straight lines that kill you if your core touches any part of it when active (when red/purplish in color)
- The presence of lasers in a mission is indicated by the icon shown below:

There are 2 types of lasers.
- (Regular) Laser
- Speed Laser
- Turret is purplish and red in color.
- Shows white line(s) with distinct white shimmers just before firing.
- Afterwards, these white line(s) turn purplish for a very short time, which kills you if your core touches any part of the purplish line.
- Otherwise, speed lasers do not show any lines on screen.
- Here is a comparison of the speed lasers, both before and after firing. (Ignore the Phase Disruptor lasers of Razor VI).
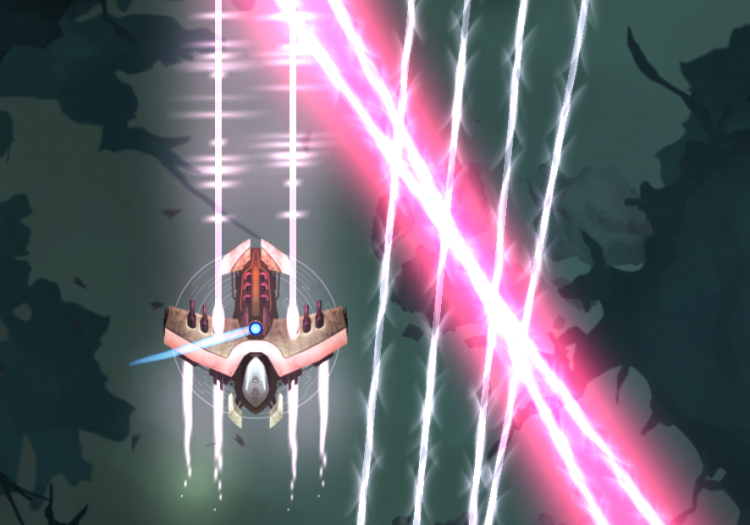
- As speed lasers are pinkish / purplish when fired, compared to red when normal lasers are fired, the community frequently abbreviates speed lasers to plasers.
- This guide does not use this abbreviation.
Darts
Fast moving bullets
- Has a rounded front tip
- Has 2 pointy edges at the back
Pellets
Slow moving bullets
- Look like elongated ovals
- The game prefers to refer to these bullets as Basic. However, since this word is a descriptive word rather than a noun in English, it is much easier and less confusing to refer as Pellets.
Shurikens
Even slower moving bullets
- Are a darker shade of red on the exterior
- Always spin counter-clockwise as they move
- Has 4 pointed edges around it
Rangs
Boomerangs
- The presence of boomerangs in a mission is indicated by the icon shown below:


The fastest bullets in Phoenix 2
- The only type of bullets that moves in a curve rather than a straight line.
MIRVs
Unless specified, MIRVs refer to pellet MIRVs.
2 stage Invader weaponry that turns into either pellets or lasers when triggered.
- The presence of pellet MIRVs in a mission is shown by the icon on the left, while the presence of laser MIRVs in a mission shown by the icon on the right:


Nobody cares what they stand for (neither do I). Here are some characteristics of MIRVs:
- Slightly slower than shurikens
- There are 2 types of MIRVs
- The more common pellet MIRVs
- The less common laser MIRVs
- Emits either 5 or 9 lasers equally spaced apart (in terms of angle) radially outward.
- Works just like a laser
- Has an initial period where the lines are white and don't kill you
- Turns red after 1s and becomes dangerous
- Finally fades away
- T1 Laser MIRV (Has 5 spikes on it)
- T2 Laser MIRV (Has 9 spikes on it)
- The more common pellet MIRVs
- Here's a pellet MIRV exploding:
- Here's an (old) T2 laser MIRV exploding:
cMIRV
Caged MIRV. Harmless until you destroy the Sparrow it is attached to. It then works like a triggered pellet MIRV.
- The presence of Caged MIRVs is shown by the icon below.
- Caged MIRV on an Unprotected Sparrow:
- Caged MIRV on an Imperial Sparrow:
- Caged MIRV on an Assault Sparrow:
- Only equipped at the rear of Sparrows, these equipments are harmless until the Sparrow that have the Caged MIRV is destroyed.
- However, once the Sparrow with the Caged MIRV dies, the Caged MIRV activates and releases 30 pellets equally spaced out in a 360° fashion (same as the behaviour of a pellet MIRV when triggered).
- You cannot destroy the Caged MIRV without destroying the Sparrow.
- Caged MIRVs do not increase the health of a Sparrow.
Doomsday Weapons
Doomsday Weapons are sometimes abbreviated to DD.
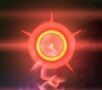
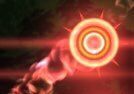
DDL
Doomsday Laser. Strictly forward lasers with the same width as the Nightfury.
- The presence of doomsday lasers in a mission is indicated by the icon shown below:

- Has a long reload time
- You can hear and see it's charging status when it is just about to fire.
- You can also see the region of space it will fire upon (there will be some red shimmering)
- If you are in the way of a Doomsday Laser, your core will flash red on the upper half.
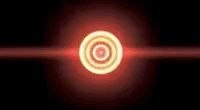
DDB
Doomsday Bomb. Releases a shockwave that will kill you if your core is caught in the radius.
- The presence of doomsday bombs in a mission is indicated by the icon shown below:

- Has a long reload time
- You can hear and see it's charging status.
- The effective radius of a Doomsday Bomb is clearly indicated by a red border.
DDM
Doomsday MIRV. Releases 4-5 pellet MIRV rings, each containing 14 MIRVs, starting from the outermost rings to the innermost rings.
- This Invader weaponry is temporarily retired. Thus, it is currently not important to know.
- The presence of Doomsday MIRVs in a mission was shown by the icon below.

DDSM
Doomsday Super MIRV. Releases a burst of varying number of Super MIRVs, at an interval of 2s apart.
- The presence of Doomsday Super MIRVs in a mission is shown by the icon below.


sMIRV
Super MIRV
- Only emitted by Doomsday Super MIRVs.
- When triggered, a Super MIRV triggers a single burst of 14 equally radially spaced apart rings that travel radially outwards.
Launchers
- Not applicable to lasers.
Spreads
Turrets that fire more than one lane of bullets or lasers in a cone fashion.
Spinners
Tracking
- They may or may not require a brief lock-on period before firing.
Bloomers
Fires expanding rings of MIRVs.
- Needs to reload for a while before firing the next ring of MIRVs.
- This term is exclusively reserved for MIRVs because no other turrets behave this way.
- The game prefers to refer to these turrets as MIRV 360 or Laser MIRV 360.
Tx (where x is an integer)
Tier x
- The same type of turret has different tiers.
- All turret types have 4 different tiers.
- This excludes Doomsday Weapons which have no tiers.
- The game prefers to refer to these tiers as follows. However, since it is not very clear to interpret it, and also having to do so without having other tiers as reference, it is much easier to use numbered tiers instead.
- T1A = Easy
- T1 / T1B = Normal
- T2 = Hard
- T3 = Super Hard
- T4 = Epic
Mk
Mark
- Within the same tier of a specific turret, there are several different attributes that define a turret.
- It varies what do the different Marks mean for different types of turrets.
- A higher Mark turret may reload faster.
- It is impossible to tell apart the different Marks just by looking at the turret visually.
- Since it is impossible to tell apart the different Marks, this guide will only mention higher or lower Mark.
- If you are confused, just think of Marks as categories within a single Tier. A higher Mark means a more dangerous category.
- In the game, the different Marks are defined by the static numerical difficulty rating assigned to each turret.
- In the PC version, a difficulty rating can be seen on every wave. This difficulty rating is the sum of ALL difficulty ratings of ALL turrets in that wave. The overall difficulty rating is how the waves in different mission tiers of different ranks are generated.
- This is still ongoing research. It is currently not clear whether a certain value of difficulty rating always means the same parameters for all attributes for a certain tier of a certain turret. (For example, would a difficulty rating of 10 always mean the same parameters for a T1A Pellet Launcher?)
Auras
In this guide, the full form of all Auras are used instead of their abbreviations.
BEMP
Bullet EMP

SEMP
Stun EMP

Barrier

LS
Laser Storm

MS
Missile Swarm

Missile Barreling
Activating Missile Swarm Aura such that all / most missiles are immediately absorbed by 1 Invader (at most 2).
- Used primarily as a speedrunning tactic since no missile travel time is incurred.
- May also be called MS Barreling.
- 2 sub-variants exist:
- Perfect / Complete Barrel = ALL missiles are immediately absorbed by ONE Invader only.
- Imperfect / Incomplete Barrel = Most missiles are immediately absorbed by 1 / 2 Invader(s), while some are intentionally allowed to re-target other Invaders. Also occurs if the above is not done properly.
PD
Point Defence

CF
Chrono Field

VL
Vorpal Lance

Phalanx

IC
Ion Cannon

GM
Goliath Missile

BS
Blade Storm

Chrono Hop
Refers to the technique where you can use the 0.5s of Phase Out time (after leaving a Chrono Field or after Chrono Field fades away) to safely cross bullets and/or lasers to re-position yourself.
Zens
In this guide, the full form of all Zens are used instead of their abbreviations.
KD
Kappa Drive

Kappa Dodge
Refers to the technique where you release your touch to use Kappa Drive in very small bursts.
- This slows down time to allow you figure out the optimum way to pass in-between tight gaps of bullets (and lasers if applicable).
- A small quick dash is made before releasing touch again to repeat the process, until you are clear of a tight maze of bullets (and lasers, if applicable).
- More details in this section.
ML
Mega Laser

MB
Mega Bomb

MBc
Mega Bomb Fusion Core
- The glowing blue orb you see after Mega Bomb has finished charging.
TP
Teleport

REMP
Reflex EMP

PS
Personal Shield

FL
Focus Lance

CATS
Clover ATS

TM
Tracking Minigun

NF
Nightfury

Vorpal Lance riding / Mega Laser riding
Refer to the technique where you move forward together with the Vorpal Lance projectile / the Mega Laser beam.
- A safe technique that allows you to move upfield without being hit by bullets since Vorpal Lance (when at Ultimate level) and Mega Laser clears bullets ahead of you.
- Respectively, they are also abbreviated to VL riding / ML riding in Phoenix 2 communities.
Miscellaneous
AoE
Area of Effect
OP
Overpowered
RNG
Random Number Generator
- Not used literally, refers to the random aspects of the game, such as random Invader movements which varies wildly between each game you play.
NPC
Non-Playable Character
- In Phoenix 2, these characters give you transmissions that appear at the top of your screen, in and out of gameplay.
GG
Good Game
- Can be seen on some player tags on the leaderboards who bought the Phoenix 2 VIP, since it is one of the static subtitles available.
- In the general gaming world, this abbreviation is used as parting words exchanged at the end of a competitive game as a gesture of good sportsmanship. On the other hand, it can also be used to taunt other players that the user’s win is assured.
1CC
1 Credit/Coin Clear
- Can be seen on some player tags on the leaderboards who bought the Phoenix 2 VIP, since it is one of the subtitles available.
- A reference to playing an arcade game where the player completes the game without losing all their lives, thus not needing to insert additional arcade credits/coins to continue the game.
- If you see this 1CC subtitle on the VIP player, this means that the player cleared the mission without using revives (for that run reflected on the leaderboards, at least).
- If the VIP player selects the 1CC subtitle and makes a new entry on the leaderboards that is a mission clear WITH revives, then no subtitles appear.
- Similarly, if the leaderboard entry is NOT a mission clear, then no subtitles appear.
Upfield
Refers to the top half of the playing field
Downfield
Refers to the bottom half of the playing field
Stun Lock
A technique where you fire off consecutive Stun EMPs or Ion Cannons such that Invaders stay in a stunned state, unable to fire any bullets or lasers.
Invader Riding
Refers to the technique of your ship being on top of an Invader.
- This is such that the Invader's turrets cannot turn quickly enough to kill you.
- However, your main weapon projectiles are able to deal damage to the Invader immediately since your projectiles don't need to travel across the playing field to hit the Invader.
Turret Riding / Inside Graze
Refers to the technique of being on top of a turret at a blind spot where the turret's bullets are not able to kill you, yet you do not die due to turret collision.
It looks something like this: